Vector graphics are added to a symbol in the same way
as any other object.
To import an SVG image:
-
In the Symbol Editor, create a new symbol.For more information, see Making a new symbol.
-
Click the Add Image button in the toolbar.The Choose Image File dialog box opens.
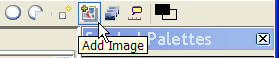 The Add Image button
 -
Navigate to the following directory:<installdir>/jviews-diagrammer89/bin/SymbolEditor/data/examples.
-
Select Scalable Vector Graphics Files in the Files of Type list.
-
Select
progressbar.svgand click Open.The Adding Vector Graphics dialog box opens. -
Click OK.The progressbar image is added to your symbol.
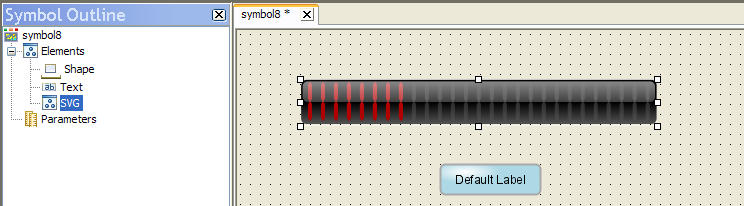
A Symbol containing an SVG image
As shown in the figure above, the imported image is named
SVG in the Symbol Outline pane. If more than one SVG image is added
to the symbol, additional graphics are named SVG2, SVG3…SVGn
automatically.
Note
When an SVG image is added to a symbol, the Image tab
is added to the Styling Customizer. This tab is used to edit the width
and height of the image manually. It also contains the URL to the
imported image file.
An imported image is placed in the top layer of the symbol
hierarchy. However, an image can be used as the base object for the
symbol.
To use the imported image as the base object of the symbol:
-
In the symbol you have just created, change the name of the imported image from SVG to
progressbar.For information on how to do this, see Performing basic object customization. -
Delete the Shape and Text objects from your symbol.For more information, see Deleting an object. The progressbar SVG image is now the base object.
-
Open the bampalette created in Using palettes and categories.For more information, see Closing and opening symbols and palettes.
-
Save the new symbol as
svgprogressbarin the progressbars category of the bampalette.See Saving a symbol for more information.