Widget Editor
Use Widget Editor to create widgets that display text, links, images, and code snippets in a dashboard. The Widget Editor is available on IP and IPV dashboards. It is not available on the Saved query and Library dashboards.
Best practices
The following are best practices when using custom code snippets in the widget editor:
-
Require strong input validation. Do not accept untrusted input or HTML content in your application unless required. Perform HTML encoding if needed.
-
Always perform output encoding. Do not render or process input as it is. Perform encoding, escaping, or any technique to break the structure of a malicious payload so it is not rendered.
-
Use libraries and software components, such as the [OWASP ESAPI], which provide reusable software components for input validation, escaping, and more.
-
Turn off support for HTTP `TRACE` on all web servers.
-
Set cookies with the `HttpOnly` flag.
-
Use updated JavaScript and Bootstrap libraries.
-
Use a securely configured 'Content-Security-Policy` (CSP) HTTP header.
Open Widget Editor to create the first widget on a dashboard
-
Select an IP or IPV, then select Dashboard in the navigation.
A message with information about your first widget opens.
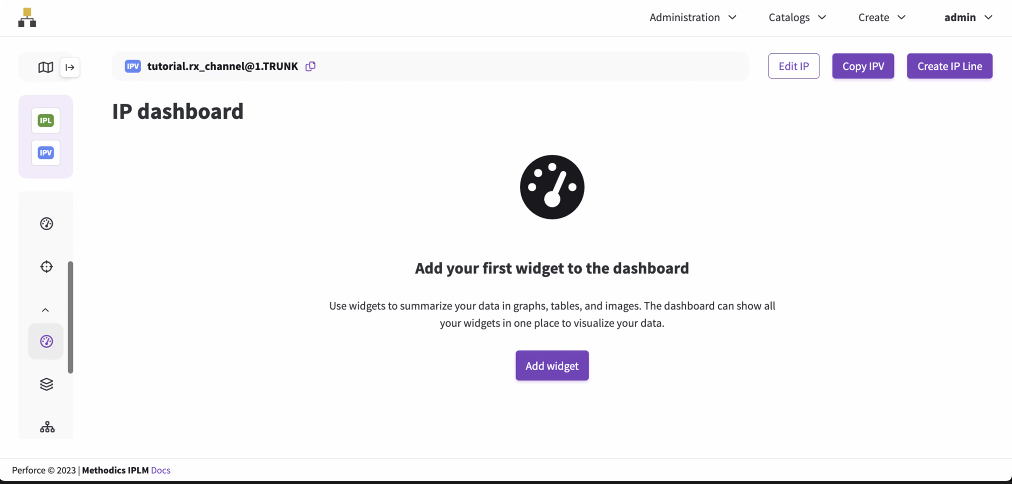
-
Select Add widget.
The Widget Editor opens.
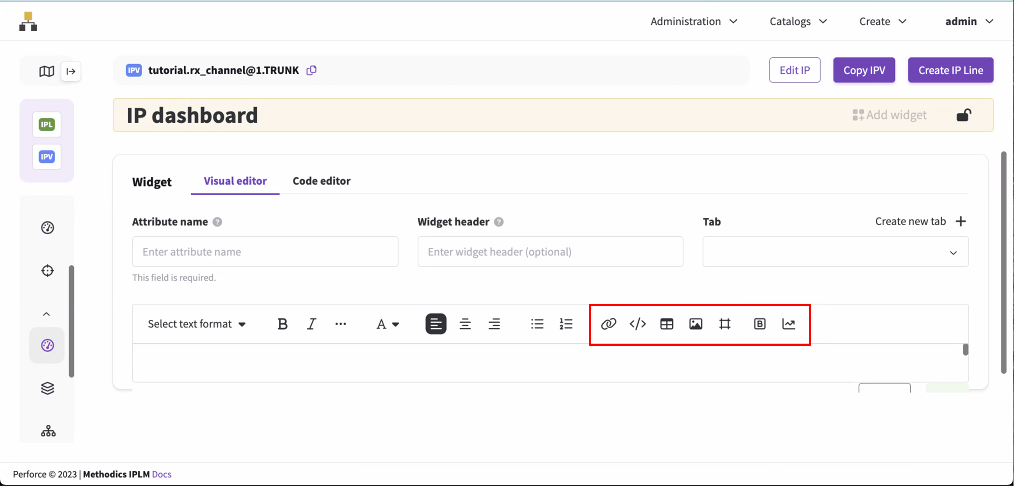
Adding widgets to an existing dashboard
Widget Editor uses a graphical interface to help create widgets.
-
Select an IP or IPV, then select Dashboard in the navigation. Select the lock icon to unlock the dashboard.
.jpg)
-
Select Add widget.
The visual editor opens.
Configuring a widget
-
Enter the attribute name. The attribute name stores the widget data in the IPLM database and is not shown on the dashboard. The attribute name is required and cannot be changed after it is created.
.jpg)
-
Optionally, you can enter a widget header. The widget header is shown on the dashboard above the widget in addition to the widget title. You can use markdown formatting to style the widget header. See Using Markdown in text and table widgets.
.jpg)
-
Optionally, you can select an existing tab or create a new tab where the widget will be shown. These custom tabs are displayed across the top of the dashboard.

-
Enter the widget contents in the text box. You can enter formatted text, links, images, and code snippets. You can also select an icon to create a Table widget, Image widget, Iframe widget, or Button widget.
-
Highlight the text where you want to insert a link, and select the link icon.
A popup opens. Enter the URL for the link and select Insert.
.jpg)
The link is shown in the widget on the dashboard.
.jpg)
-
Arranging widgets on the dashboard
Once you have created widgets, you can edit, delete, and resize the widgets on the dashboard.
-
Select an IP or IPV, then select Dashboard in the navigation. Select the lock icon to unlock the dashboard.
Each widget shows an edit and delete icon.
.jpg)
You can also drag each widget to a new location or resize the widget by dragging the resize icon in the lower right corner.
.png)