The timeline view is a cornerstone in visualizing projects. You can also edit items and the connections between them.
It consists of a chronological view of all sprints and items, each represented as horizontal bars, with earlier items on the left and later items on the right. Past sprints are displayed in gray.
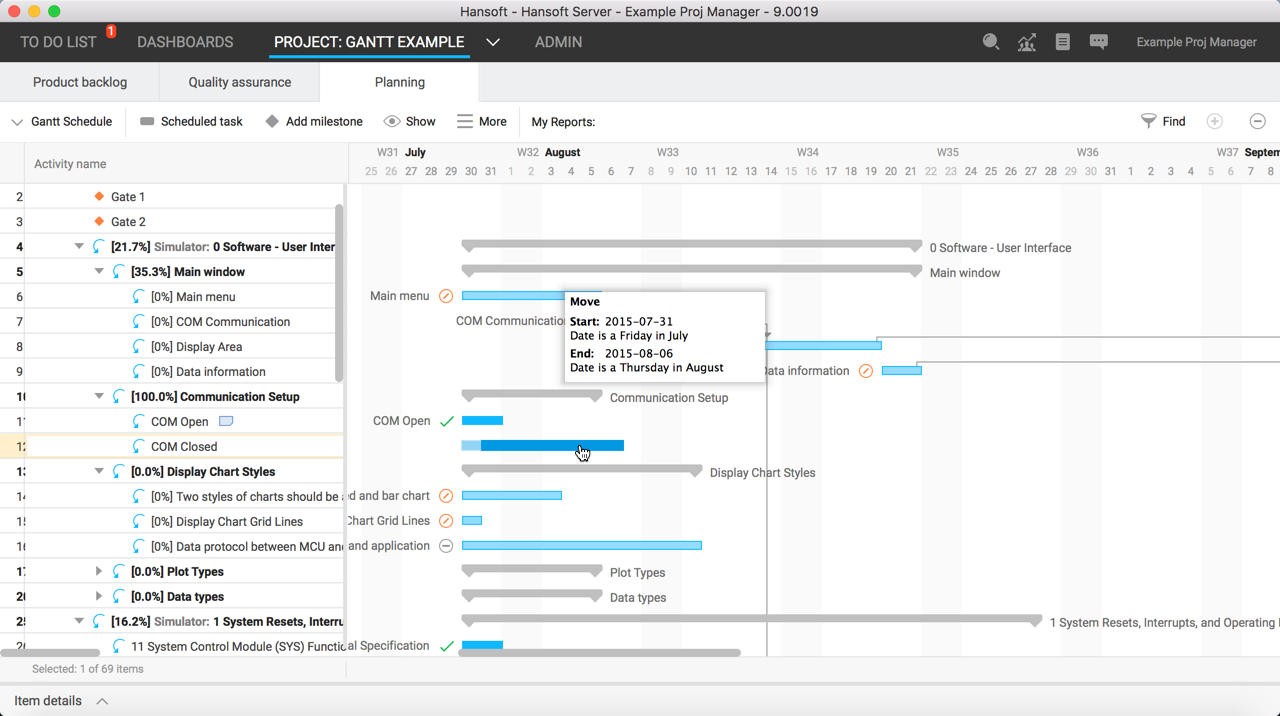
You can manage items directly from the timeline view in a few ways. To change the start or end date of a task, you can click on either end of the item's bar and drag it to make the bar smaller or larger. You can also move items by clicking and dragging them.
To connect items to each other, you can click one of the tasks and drag it to another. This adds a dependency connection between the two, represented by an arrow. For more information, see Connecting items.
If you right-click an item in the timeline view, you will see the following options, depending on the item type:
- Split task - Split the task into two. Where on the item's bar you click will affect the date at which the task is split, and this date will be indicated in the option text itself.
- Copy - Copies the item to the P4 Plan clipboard, and to the Windows clipboard as raw text information.
- Copy as hyperlink - Copy the link to the selected item to your clipboard.
- Cut - Removes and copies the item from the P4 Plan clipboard and to the Windows clipboard as raw text information.
- Delete - Permanently deletes the item.
- Set out of office status - Applies an Out of office status to the item. For more information, see Planning Out of office time and part time work.
- Disconnect - Removes all connections to and from the item. For more information, see Connecting items.
- Set colour - Enables you to select the item's colour.
- Scheduling actions - Opens another menu, containing further options related to scheduling. For more on these options, see Scheduled task options.
- View selected only - Filters the Planning view to only show the selected item.
- View change history on - Opens a new window, containing the history of all changes made to the item.
- View time reported on - Opens a new window, containing a record of all time that has been reported against the item.