To create an area of sight:
-
Set the map to the position and zoom level you require.
-
Click the
 button on the toolbar and then move the
mouse over the map. A circular image is created around the mouse that
gives an approximation of the visible area. The visible area changes
according to the terrain as you move the mouse over the map.
button on the toolbar and then move the
mouse over the map. A circular image is created around the mouse that
gives an approximation of the visible area. The visible area changes
according to the terrain as you move the mouse over the map. -
Click at any point in the map where you want to permanently display the visible and invisible areas. The Area of Sight Style Settings window opens for you to set the styles you want.The following figure shows an example of the Area of Sight Settings pane.
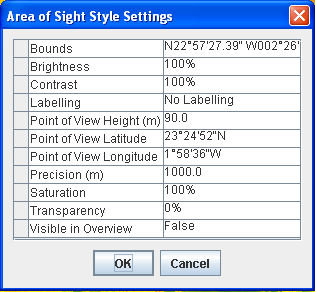 Area of Sight Style Settings window
 -
Useful properties that you can set are:Color ModelColor Model: You can use this property to change the color of the visible and invisible terrain.Note: To access the Color Model property, you must have the Show Advanced Properties option active (Options>Show Advanced Properties).Point of View HeightYou can use this property to change the point of view from ground level to a given altitude (for example, an aeroplane flying at 3000m).PrecisionYou can use this property to increase or decrease the precision of the terrain displayed, but note that the lower the value, the higher the precision but the higher the CPU usage.Set the styles you want and click OK. A detailed Area of Sight is displayed in the Map View.
-
An Area of Sight layer is added to the Map Layers pane. You can add as many Areas of Sight as you like.
-
To delete an Area of Sight layer, see Deleting a map layer.
-
You can also set the properties in the map style property sheet after the layer has been created.