Note
This section assumes that you have downloaded appropriate data to
your workstation. For a list of suggested free sources for
downloading map data, see Map data
To create the map containing the data sources described in An example map:
-
Start the Map Builder as described in Running the Map Builder .
-
Choose File>New Map to clear the Map View of any map data.
-
Choose File>Add Map Data to open the file browser, select the GeoTIFF format, and then select the drive where you have downloaded your data. For example, select the data source World2_24M.tif, and then choose Open.NoteYou can copy all the files to your workstation for faster access.
-
Click the
 button to
fit the whole world into the view.
The following figure shows the resulting Map View pane.
button to
fit the whole world into the view.
The following figure shows the resulting Map View pane.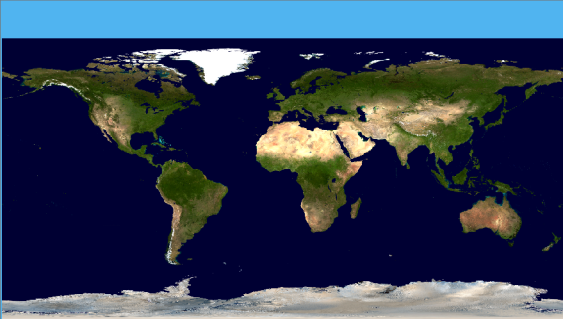 The data source World2_24M
 -
Choose File>Add Map Data to open the file browser, select the ESRI/Shape format, and then select the drive where you have downloaded and saved your data. For example, select the data source ESRI/Shape World_countries.shp, and then choose Open.The following figure shows the resulting Map View pane.
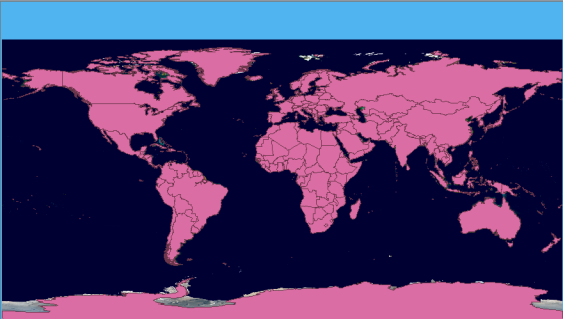 The data source World_countries.shp