Open Form1.cs in design view.
Select the form.
Set the Text property for the form to "1stGrid Tutorial Step 3".
Add a new form to hold the property grid.
Right click Step 3.
From the context menu that appears, select Add | Add Windows Form.
Select Windows Form.
Set the Name to GridProperties.cs.
Size the form as desired.
Change the following properties for the form:
Set FormBorderStyle to FixedDialog.
Set Text to "Grid Properties".
Set StartPosition to CenterParent.
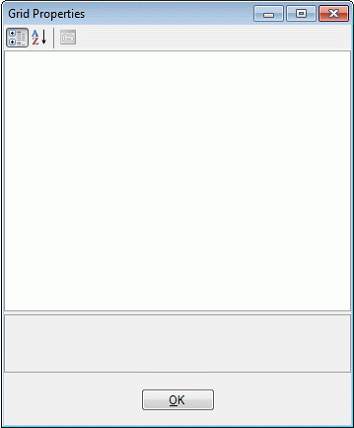
Drag a property grid from the Toolbox onto the form. Size as desired.
The Property Grid is not present by default in the Toolbox. To add it, right-click the Toolbox, choose "Customize Toolbox...", select the .NET Framework Components tab, check the box next to Property Grid, and click OK.
Drag a button from the Toolbox onto the form. Position as desired.
Set the properties for the button.
Select the button.
View the properties for the button.
Set Text to &OK.
Set Name to OK.
Figure 40: Grid Properties Form

Add the implementation for the Click event.
View the events for the button by clicking the lightning bolt in the property grid.
Double-click the Click event.
Add the following implementation for the event:
this.Close();
View the source code for the form (use the View|Code Visual Studio menu option).
Add a constructor argument of type Stingray.Grid.GridControl.
After the comment "TODO: Add any constructor code after InitializeComponent call", add a command to set the selected object for the property grid to the grid given to the constructor.
public GridProperties(Stingray.Grid.GridControl grid)
{
//
// Required for Windows Form Designer support
//
InitializeComponent();

//
// TODO: Add any constructor code after InitializeComponent call
//
propertyGrid1.SelectedObject = grid;
}
|
Open the design view for Form1.cs.
Right click the Window menu and select Insert New from the context menu that appears.
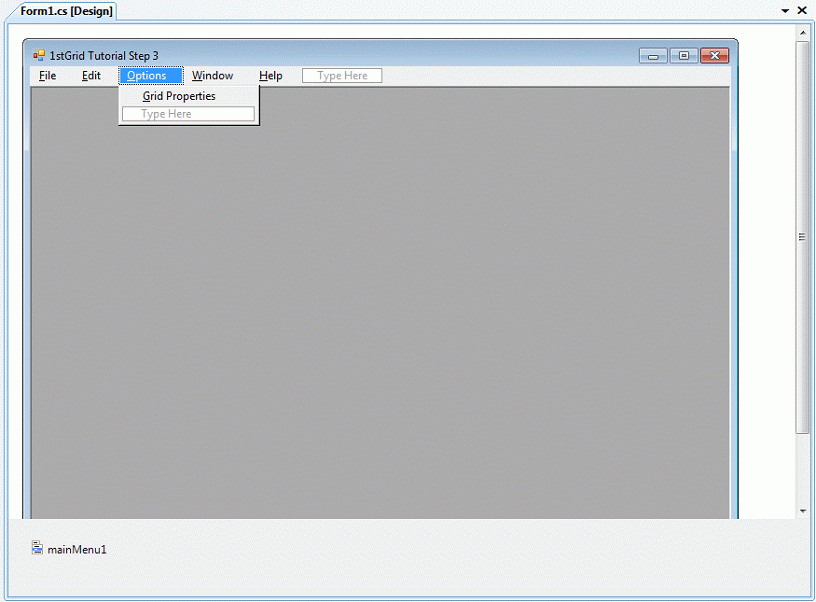
Add the menu &Options. Set the Name property for the menu to OptionsMenu.
Add the item &Grid Properties to the Options menu. Set the Name property of this item to OptionsGridProperties.
Figure 41: Adding the Options Menu

Double-click the GridProperties menu item, and add the following code for the implementation of the event handler.
GridDocument doc = (GridDocument) this.ActiveMdiChild; if (doc != null) new GridProperties(doc.Grid).ShowDialog(); |
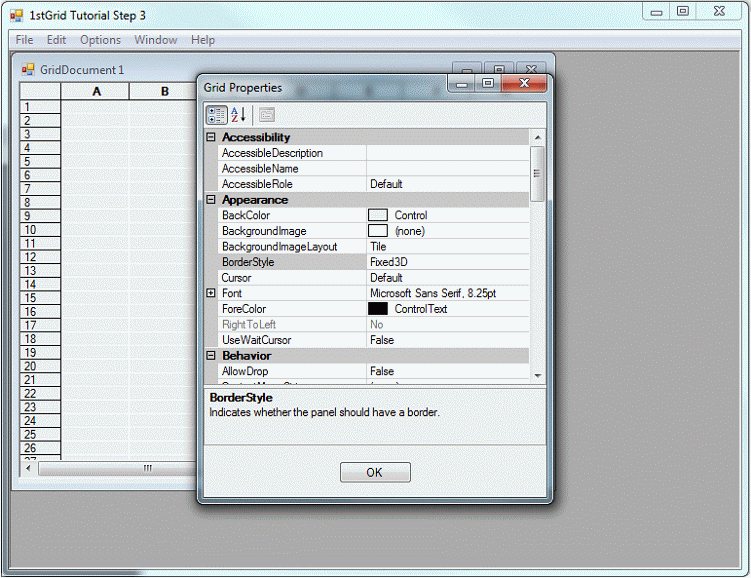
Build and run the application.
Figure 42: Completed 1stGrid Step 3

