Working with Jira issues in Perforce ALM
You can work with Jira issues from Perforce ALM. In most cases, teams use the Perforce ALM Jira integration when other teams they work with use Jira to track issues.
You can attach Jira issues to Perforce ALM items to indicate they are related and easily open the issue in Jira to view the details. You can also create new Jira issues and automatically attach them to Perforce ALM items, or open the Create Issue page in Jira from Perforce ALM to create an issue.
1. Click the Jira Issues tab when you are working with an item.
Jira issues attached to the item are displayed.
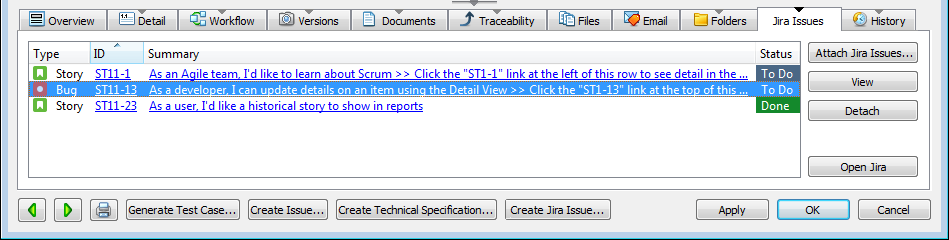
2. Click Attach Jira Issues to attach issues to the Perforce ALM item. See Attaching Jira issues to Perforce ALM items.
You may be prompted to enter your Jira username and password before you can perform an action.
3.
4. Click Create Jira Issue to create a new issue and automatically attach it to the Perforce ALM item. See Creating Jira issues from Perforce ALM.
5. Click Open Jira to open the Create Issue page in Jira. You may be prompted to log in before the page opens.
6. Select an issue and click Detach to detach it from the Perforce ALM item. See Detaching Jira issuesfrom Perforce ALM items.
7. Click