Getting started with JViews JSF applications
Getting started with a basic JViews JSF application
This Getting Started guide shows you how to create a basic JViews JSF application that displays a basic graphic view, within a Web browser. It shows all the elements you need to start developing JViews JSF applications.
This guide is aimed at developers who have little experience in using JViews, but who know how to develop Java applications with Eclipse™. If you have already developed JViews Web applications with Eclipse, you can skip this guide. Web application samples are also provided with this product.
The examples provided here are for Windows XP®, but they are easily adapted to suit other operating systems.
Software required for developing JViews Web applications
The following guide to developing JViews Web applications is based on the Eclipse™ development environment. Before you start, check that your system meets the hardware and operating system software requirements set for this product as detailed in the following list:

Eclipse 3.7 (Indigo) or later with the Web Tools Platforms (WTP). Download the latest version of “Eclipse IDE for Java EE Developers” from
http://www.eclipse.org/downloads/.
When you have installed this software and verified that your system meets the requirements, you can start configuring the workspace for JViews JSF application development.
Setting up the workspace
Before starting to set up your workspace, ensure that you have the necessary software installed, as is described in
Software required for developing JViews Web applications. The examples used here are illustrated with Luna Eclipse™.
Creating your workspace
To set up your workspace:
Create a folder, for example,
C:\Rogue Wave\jviews-web-samples and select it as your workspace when you start Eclipse™.
Configuring the Tomcat server
Rogue Wave® JViews is shipped with a Tomcat ™ server.
To configure Tomcat as the default Web application server of your workspace:
1. Start Eclipse and open the workspace C:\Rogue Wave\jviews-web-samples (or the folder you chose when creating your workspace).
2. Select Windows>Preference>Server>Runtime Environments and click Add.
3. 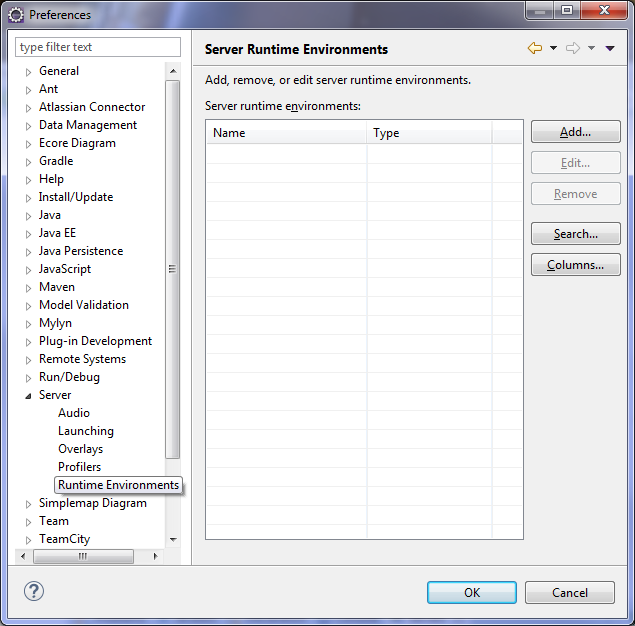
4. Click Add.
5. 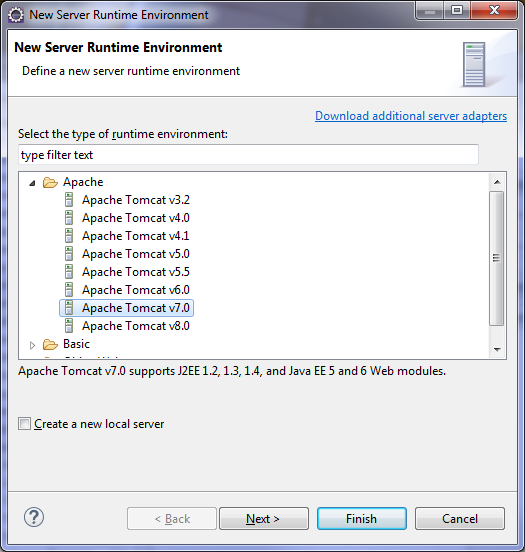
6. Select Apache Tomcat v7.0, click Next and then Browse to the location of the Tomcat installation directory.
The following figure shows the Tomcat installation directory as shipped with JViews 9.1. The location of this directory might vary depending on the version of your product. You must browse to find the directory appropriate to your product and version.
7. 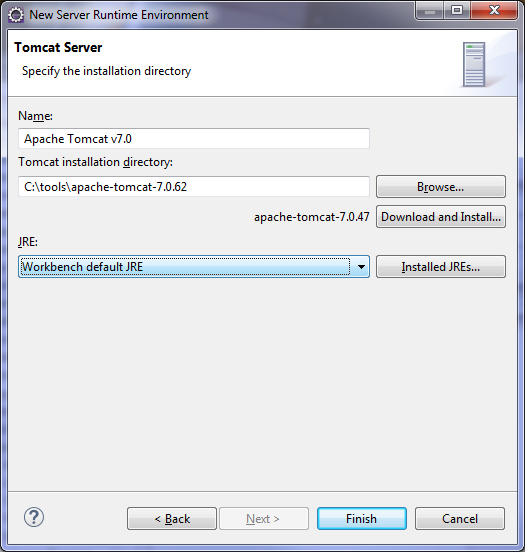
The Tomcat installation directory that is shipped with the JViews product might vary depending on the version of your product.
8. Click Finish and then OK.
Configuring the JViews JSF library
When developing JViews JSF applications you must use the following jars and these must also be distributed with your Web applications.
To create a customized user library for the jars required when developing JViews JSF applications:
1. Start Eclipse and open the workspace C:\Rogue Wave\jviews-web-samples (or the folder you chose when creating your workspace).
2. Select Windows>Preference>Java>Build Path>User Libraries.
3. 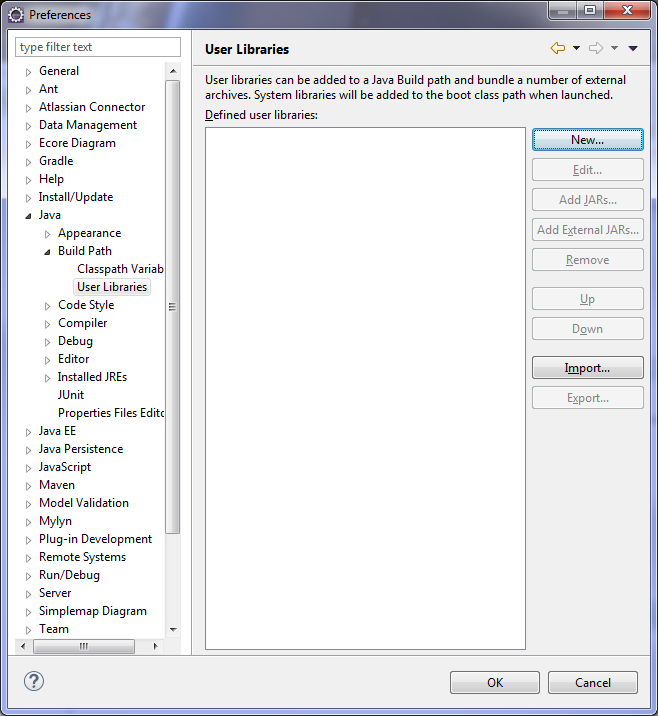
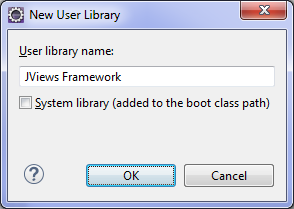
4. Click New and enter a user library name of your choice, for example, JViews Framework and then click OK.
5. 
6. Click Add JARs and add all the jars shown listed under JViews Framework (or the user library name you have chosen) and click OK.
7. 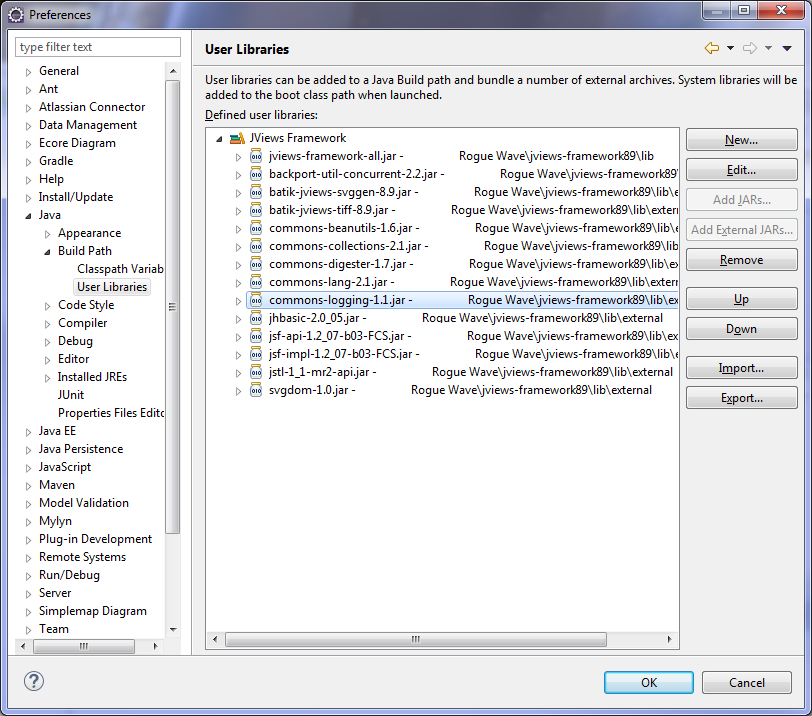
The number of jars and their directory paths might vary depending on your version of JViews.
Creating the JViews “Hello World” JSF application project
To create your first JViews JSF application project
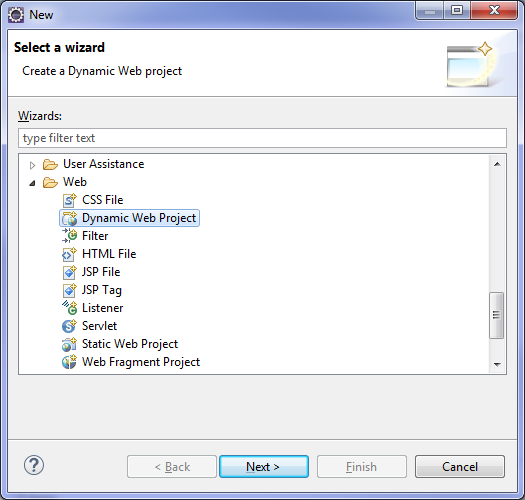
1. Select File>New>Dynamic Web Project.
1. 
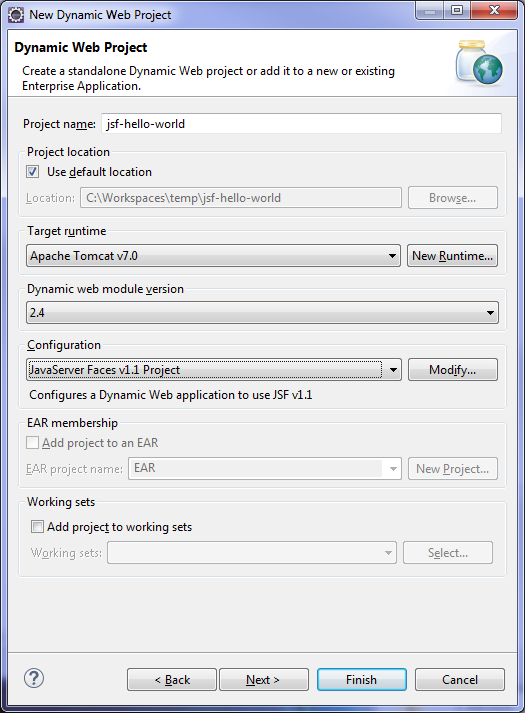
2. Enter jsf-hello-world as the Project name and select JavaServer Faces v1.1 Project as the Configuration.
3. 
4. Click Next three times consecutively to obtain the following window:
5. 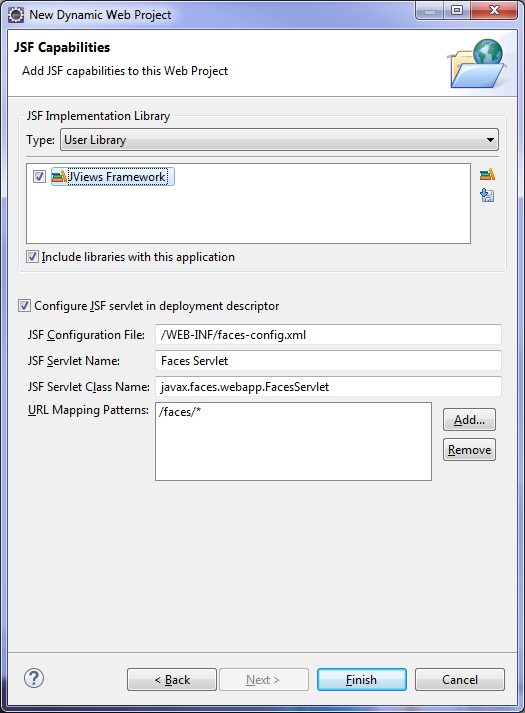
6. Select the JViews Framework check box (or the user library name of your choice) and click Finish.
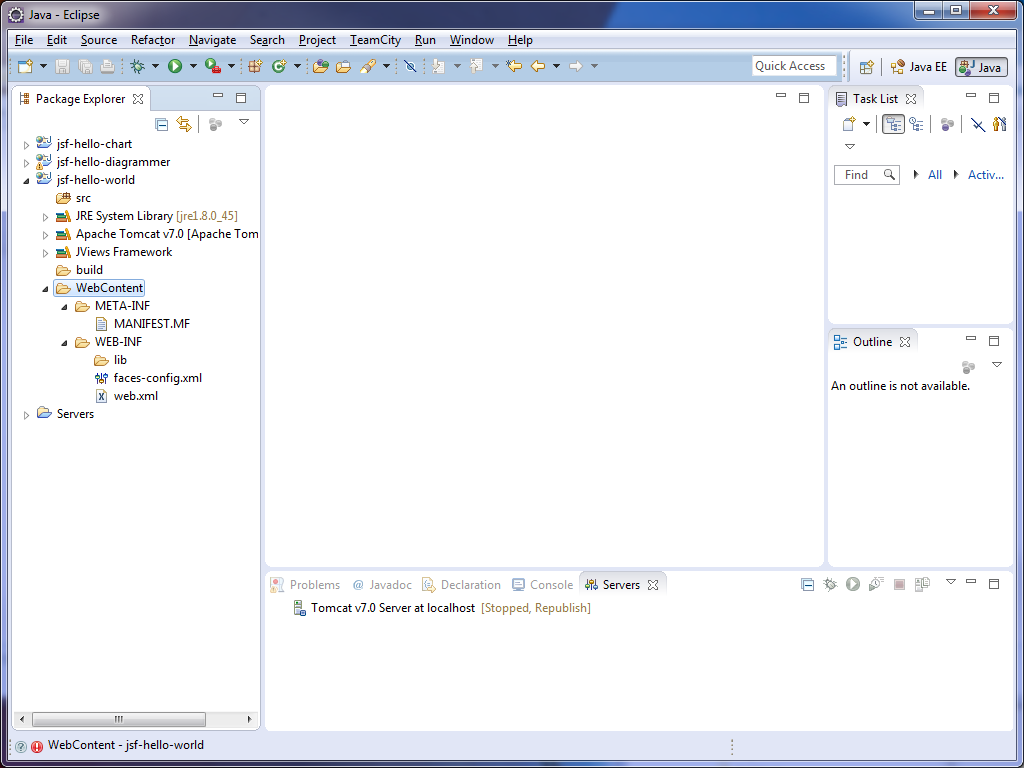
You have now created an empty JViews JSF application project.
7. If necessary, switch to a Java perspective (you can ignore any Eclipse prompts requesting you to switch to the Java EE perspective) by selecting Windows>Open Perspective>Other…>Java and then click OK.
8. 
Preparing the data used in this example JViews JSF application
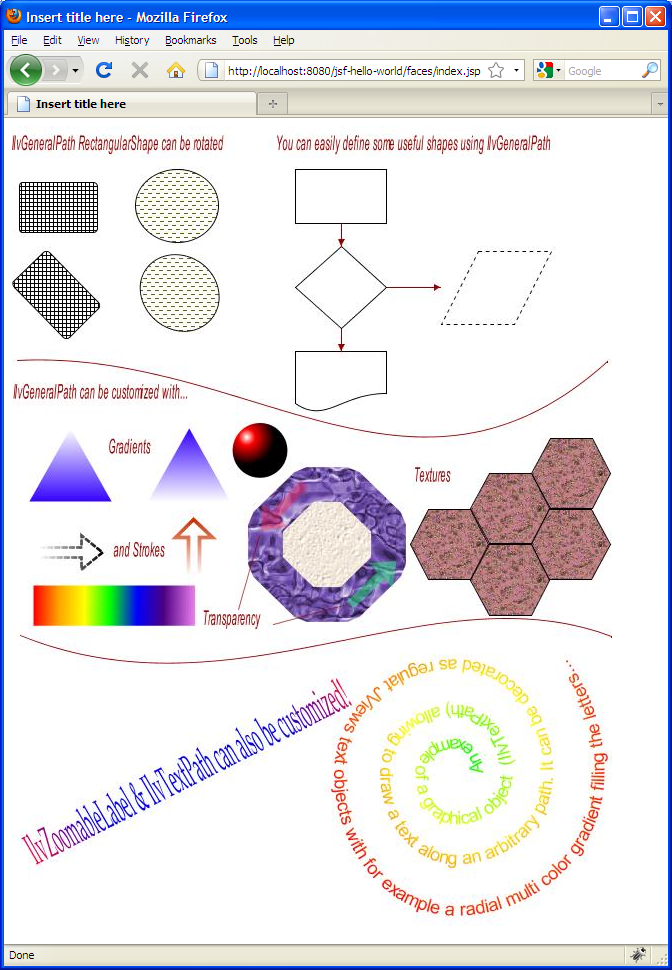
The aim of a JViews Web application is to display graphic views through Web browsers. There are many ways to create graphic views.
This example shows you one of the simplest ways: the graphic view has been previously prepared using JViews desktop applications and saved as an IVL file. The purpose of this JSF application is to display the graphic view stored in this IVL file on the Web.
To obtain the required data:
Copy the file java2d.ivl and the folder textures from <installdir> \jviews-framework\codefragments\jsf-hello-world\webpages to the WebContent folder of your project. The location of this example might change depending on the version of your JViews product.
For alternative ways to provide or to create graphic views, refer to the demos and samples provided with your JViews product.
Implementing and configuring the managed bean
In this example, the JSF application needs a managed bean to accomplish the following tasks:
Loading the IVL file when the Web application starts
Creating a manager view in order to display the graphic view.
Implementing the managed bean
To create the Java implementation file:
1. In the Package Explorerview, right-click the src folder and select New>Class.
1. 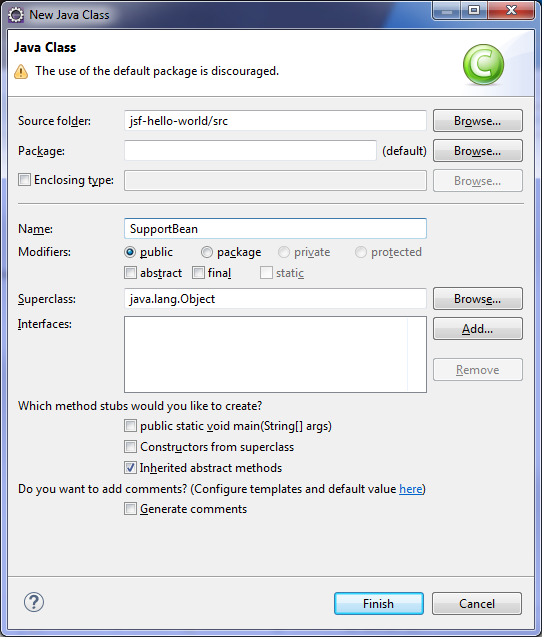
2. Enter SupportBean in the Name field and click Finish.
3. Open the newly created file SupportBean.java located in the src folder and implement the SupportBean class as follows:
import ilog.views.IlvManager;
import ilog.views.IlvManagerView;
import java.net.URL;
import javax.faces.context.FacesContext;
public class SupportBean {
private IlvManagerView managerView;
public SupportBean() {
initManagerView();
}
/**
* Initializes the manager view with the current ivl file.
*/
protected void initManagerView() {
if (managerView == null)
managerView = new IlvManagerView();
URL ivlURL;
try {
ivlURL = FacesContext.getCurrentInstance().getExternalContext().getResource("/java2d.ivl");
IlvManager manager = managerView.getManager();
manager.setFileName(ivlURL);
managerView.fitTransformerToContent();
managerView.setKeepingAspectRatio(true);
} catch (Exception e) {
e.printStackTrace();
}
}
/**
* Returns the manager view.
* @return The manager view.
*/
public IlvManagerView getView() {
return managerView;
}
}
The SupportBean class loads the file java2d.ivl located in the root folder of the Web application and creates a manager view for this file.
Configuring the managed bean
You must now declare this class as a managed bean so that it can be accessed by JViews JSF components.
To declare the class as a managed bean:
Open the file
faces-config.xml located in the
WebContent/WEB_INF folder and add the code shown in bold in the following code example:
<?xml version="1.0" encoding="UTF-8"?>
<faces-config
xmlns="http://java.sun.com/xml/ns/javaee"
xmlns:xsi="http://www.w3.org/2001/XMLSchema-instance"
xsi:schemaLocation="http://java.sun.com/xml/ns/javaee http://java.sun.com/xml/ns/javaee/web-facesconfig_1_2.xsd"
version="1.2">
<managed-bean>
<managed-bean-name>support</managed-bean-name>
<managed-bean-class>SupportBean</managed-bean-class>
<managed-bean-scope>session</managed-bean-scope>
</managed-bean>
</faces-config>
You have now implemented and configured the managed bean.
Configuring the JViews servlet
You must declare and configure the JViews servlet used by your Web application.
To declare and configure the JViews servlet:
Open the file
web.xml located in the
WebContent/WEB_INF folder and add the parts shown in bold in the following code example:
<?xml version="1.0" encoding="UTF-8"?>
<web-app xmlns:xsi="http://www.w3.org/2001/XMLSchema-instance"
xmlns="http://java.sun.com/xml/ns/javaee"
xmlns:web="http://java.sun.com/xml/ns/javaee/web-app_2_5.xsd"
xsi:schemaLocation="http://java.sun.com/xml/ns/javaee http://java.sun.com/xml/ns/javaee/web-app_2_5.xsd"
id="WebApp_ID" version="2.5">
<display-name>jsf-hello-world</display-name>
<welcome-file-list>
<welcome-file>index.html</welcome-file>
<welcome-file>index.htm</welcome-file>
<welcome-file>index.jsp</welcome-file>
<welcome-file>default.html</welcome-file>
<welcome-file>default.htm</welcome-file>
<welcome-file>default.jsp</welcome-file>
</welcome-file-list>
<servlet>
<servlet-name>Faces Servlet</servlet-name>
<servlet-class>javax.faces.webapp.FacesServlet</servlet-class>
<load-on-startup>1</load-on-startup>
</servlet>
<servlet-mapping>
<servlet-name>Faces Servlet</servlet-name>
<url-pattern>/faces/*</url-pattern>
</servlet-mapping>
<context-param>
<param-name>ilog.views.faces.CONTROLLER_PATH</param-name>
<param-value>/_contr</param-value>
</context-param>
<servlet>
<servlet-name>Controller</servlet-name>
<servlet-class>ilog.views.faces.IlvFacesController</servlet-class>
<load-on-startup> 1 </load-on-startup>
</servlet>
<servlet-mapping>
<servlet-name>Controller</servlet-name>
<url-pattern>/_contr/*</url-pattern>
</servlet-mapping>
<context-param>
<description>State saving method: 'client' or 'server' (=default). See JSF Specification 2.5.2</description>
<param-name>javax.faces.STATE_SAVING_METHOD</param-name>
<param-value>client</param-value>
</context-param>
<context-param>
<param-name>javax.servlet.jsp.jstl.fmt.localizationContext</param-name>
<param-value>resources.application</param-value>
</context-param>
<listener>
<listener-class>com.sun.faces.config.ConfigureListener</listener-class>
</listener>
<!--
This Web application uses JViews Gantt features. When you deploy an application that includes this code, you need to be in possession of a Rogue Wave JViews Gantt Deployment license.
-->
<listener>
<listener-class>ilog.views.util.servlet.DeploymentLicenseRequired_for_JViews_Gantt_Deployment</listener-class>
</listener>
</web-app>
This is the JViews servlet that handles all image requests initiated by JViews clients through Web browsers.
Creating the main JSP page
To show your graphic view in Web browsers, you must create a Java Server Pages™ page.
To create a JSP page:
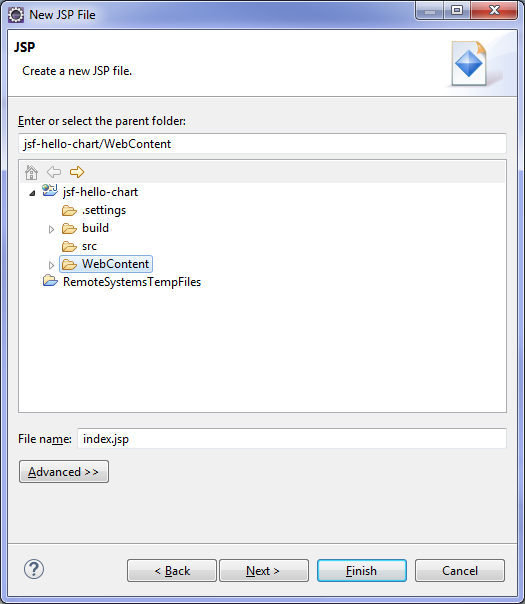
1. In the Package Explorer view, right-click the WebContent folder and then select New>Others…>Web>JSP.
1. 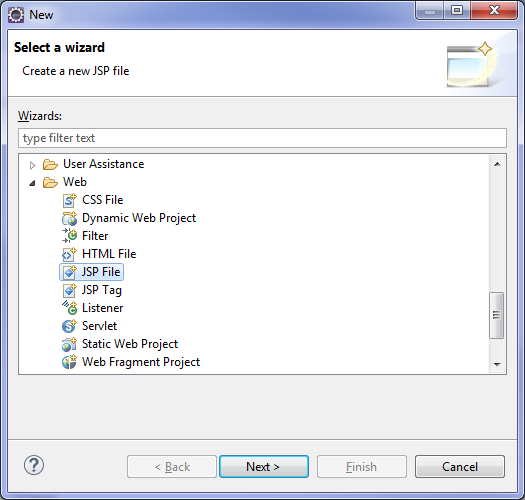
2. Click Next > and enter index.jsp as the file name:
3. 
4. Click Next.
5. Select New JavaServer Faces (JSF) Page (html) as the template:
6. 
7. Click Finish.
Creating a JSF manager view
To add a JSF manager view:
Open the new
index.jsp file located in the
WebContent folder and add the code shown in bold in the following code example:
<%@ page language="java" contentType="text/html; charset=ISO-8859-1"
pageEncoding="ISO-8859-1"%>
<%@ taglib prefix="f" uri="http://java.sun.com/jsf/core"%>
<%@ taglib prefix="h" uri="http://java.sun.com/jsf/html"%>
<%@ taglib uri="http://www.ilog.com/jviews/tlds/jviews-framework-faces.tld"
prefix="jvf" %>
<!DOCTYPE html PUBLIC "-//W3C//DTD HTML 4.01 Transitional//EN"
"http://www.w3.org/TR/html4/loose.dtd">
<html>
<head>
<meta http-equiv="Content-Type" content="text/html; charset=ISO-8859-1">
<title>Insert title here</title>
</head>
<body>
<f:view>
<h:form id='jviewsForm'>
<jvf:view id="managerView" style="width:500px;height:300px"
view="#{support.view}" />
</h:form>
</f:view>
</body>
</html>
The component <jvf:view> enables you to show the JViews graphic presentation. The view attribute of this component is bound to the view attribute of the SupportBean configured in the previous section. Note also that <jvf:view> must be inserted with in a <h:form> component.
This completes the coding of your JViews JSF application. You can now proceed to deploy and test it.
Deploying a JViews JSF application
Your JViews JSF application has been compiled and built automatically by Eclipse™ providing that you have not turned off the Build Automatically option. If you do not have any compilation errors you can deploy your application on the Tomcat server that you previously configured.
To deploy your JViews JSF application on the Tomcat™ server:
1. Select Window>Show View>Other…>Server>Servers:
1. 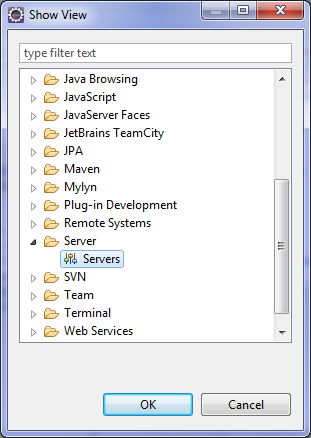
2. Click OK to display the Servers tab:
3. 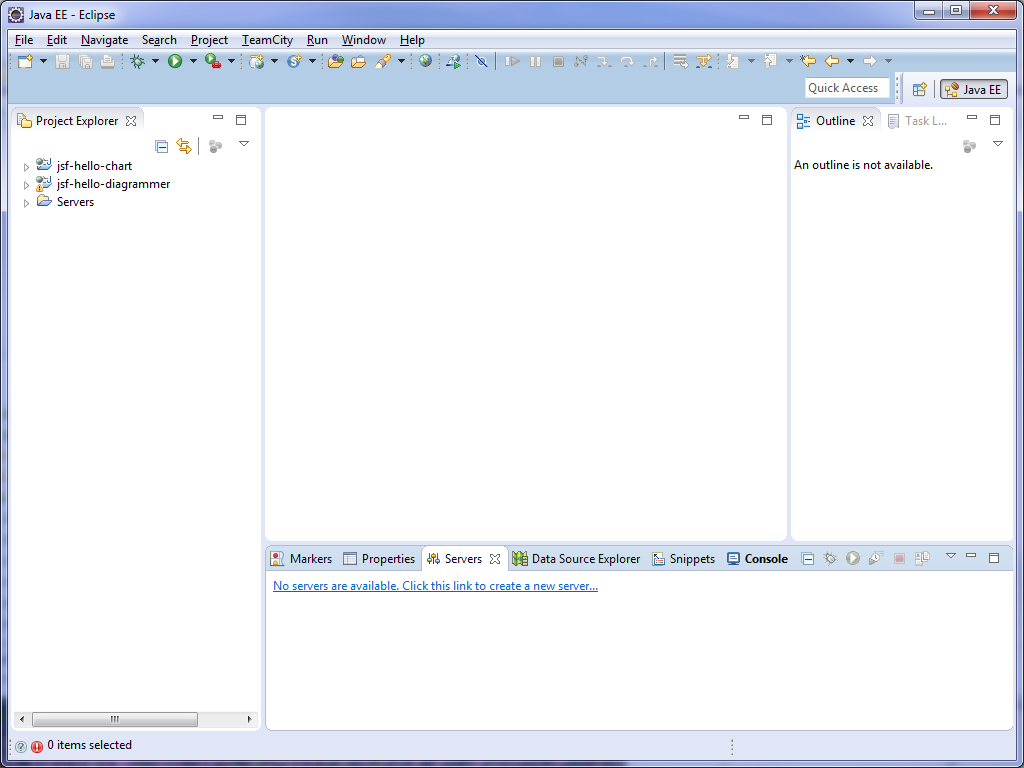
4. In the Servers tab, right-click and select New>Server.
5. 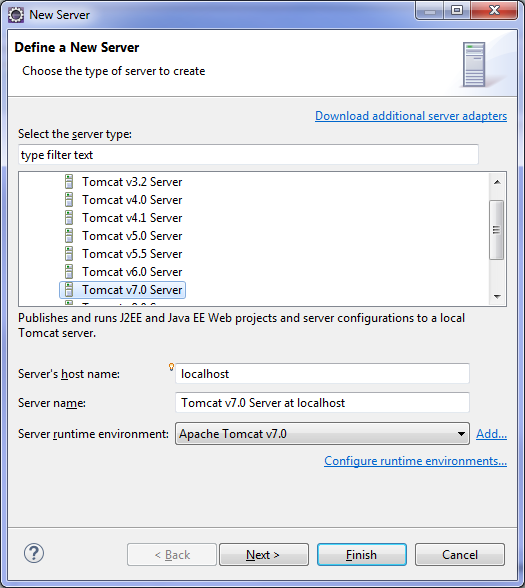
6. Select Tomcat v7.0 Server and click Next.
7. 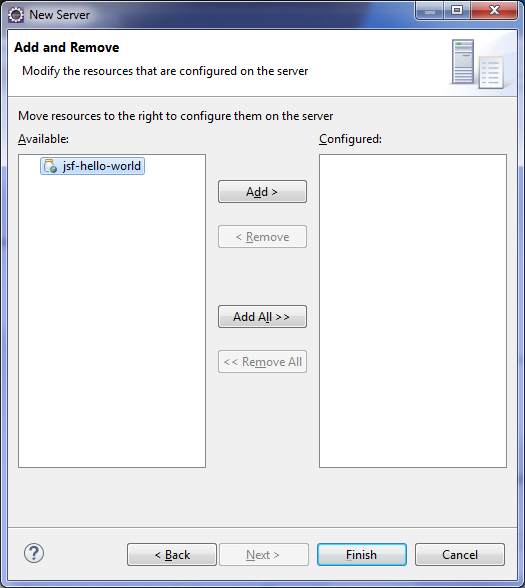
8. Select jsf-hello-world and click Add and then click Finish.
Your application is now deployed on the Tomcat server and ready for testing.
Testing a JViews JSF application
To test your JSF application:
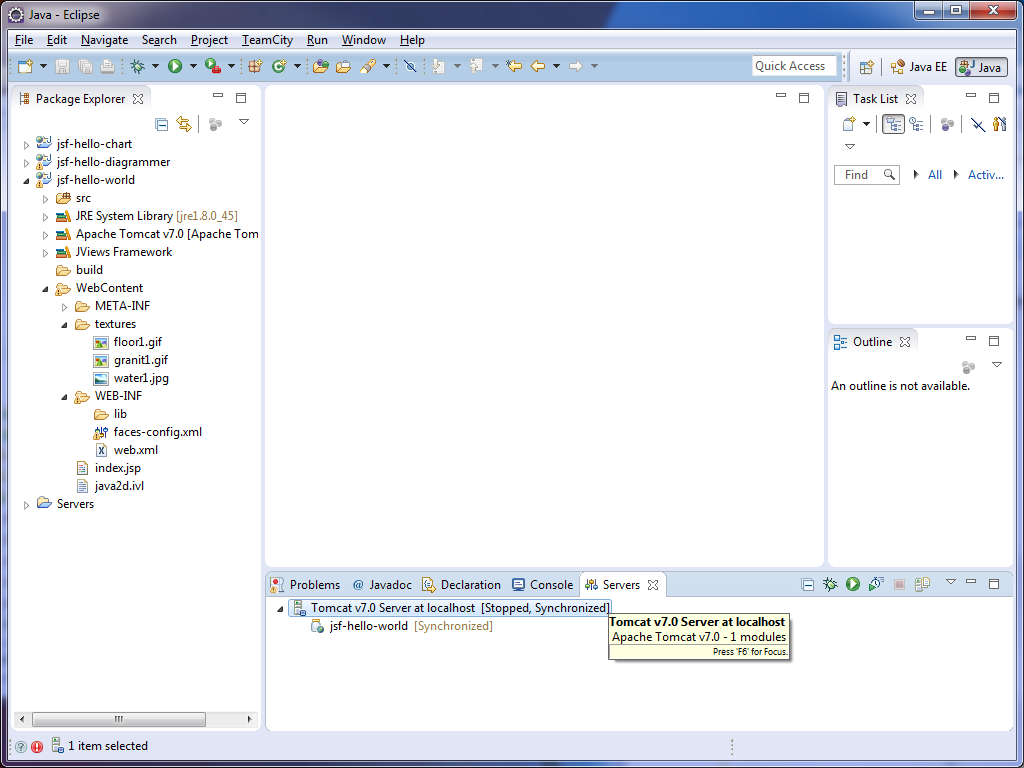
1. In the Servers tab, right-click Tomcat v7.0 Server at localhost and select Start.
1. 
3. 
You have now created your first JViews JSF application.
This Getting Started example is shipped with your JViews product and is located in the directory
<installdir> /jviews-framework/codefragments/jsf-hello-world/index.html. The location of this directory might vary depending on the version of your product.
This Getting Started guide shows you how to create a basic JViews JSF view. For information on interactions, such as selection and zoom, see the following sections in this product guide. A number of samples and demos are provided with this product showing different ways to use JViews Web components.
Copyright © 2018, Rogue Wave Software, Inc. All Rights Reserved.

