Before starting to set up your workspace, ensure that you have the
necessary software installed, as is described in Software required for developing JViews Web
applications. The examples used here are illustrated with Luna
Eclipse™ .
Creating your workspace
To set up your workspace:
-
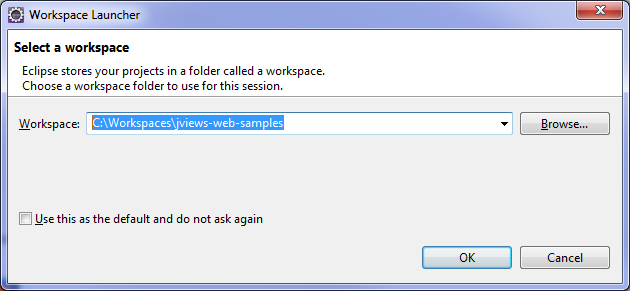
Create a folder, for example, C:\Rogue Wave\jviews-web-samples and select it as your workspace when you start Eclipse™ .
Configuring the Tomcat server
Rogue Wave® JViews is shipped with a Tomcat ™ server.
To configure Tomcat as the default Web
application server of your workspace:
-
Start Eclipse and open the workspace C:\Rogue Wave\jviews-web-samples (or the folder you chose when creating your workspace).
-
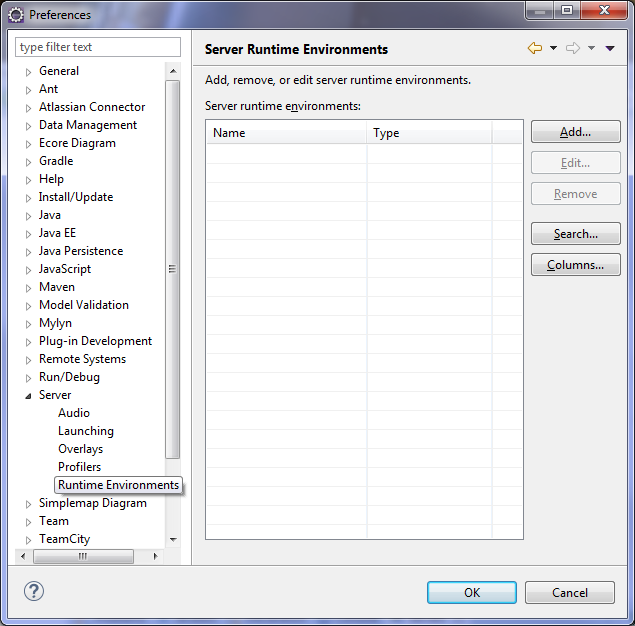
Select Windows>Preference>Server>Runtime Environments and click Add.
-
Click Add.
-
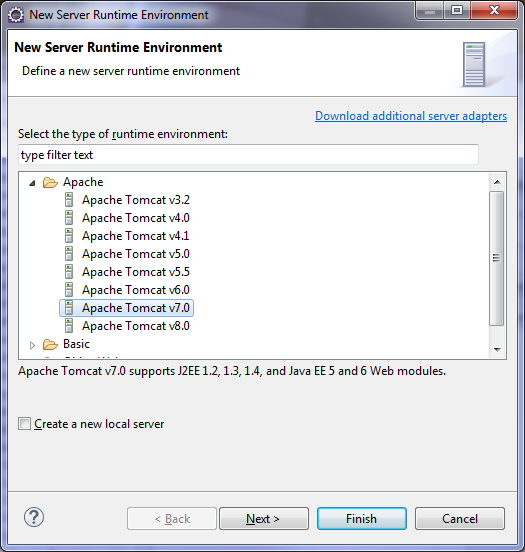
Select Apache Tomcat v7.0, click Next and then Browse to the location of the Tomcat installation directory.The following figure shows the Tomcat installation directory as shipped with JViews. The location of this directory might vary depending on the version of your product. You must browse to find the directory appropriate to your product and version.
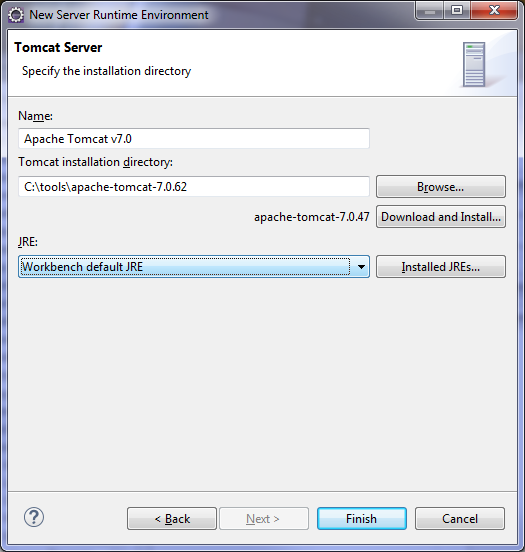 The Tomcat installation directory that is shipped with the JViews product might vary depending on the version of your product.
 -
Click Finish and then OK.
Configuring the JViews JSF library
When developing JViews JSF applications
you must use the following jars and these must also be
distributed with your Web applications.
To create a customized user library for
the jars required when developing JViews JSF applications:
-
Start Eclipse and open the workspace C:\Rogue Wave\jviews-web-samples (or the folder you chose when creating your workspace).
-
Select Windows>Preference>Java>Build Path>User Libraries.
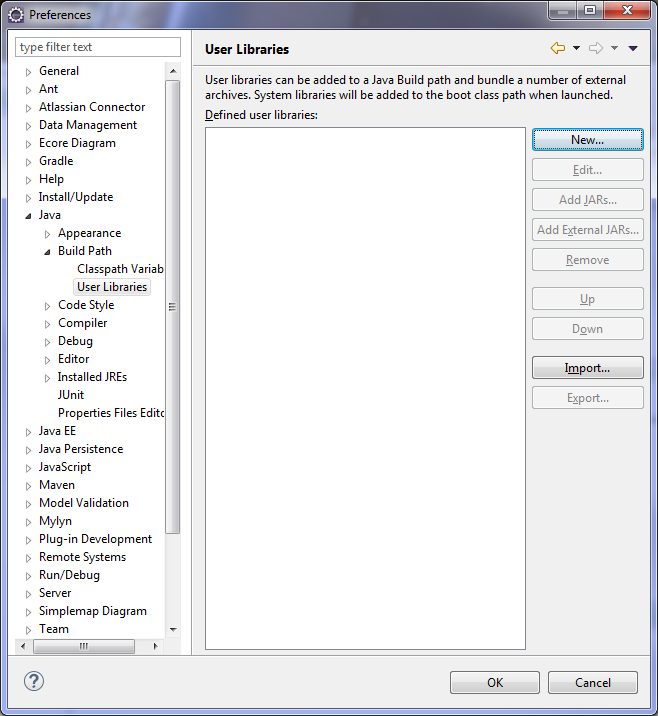
-
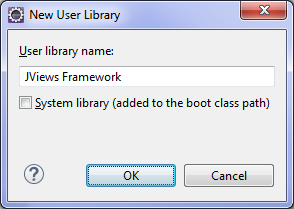
Click New and enter a user library name of your choice, for example, JViews Framework and then click OK.
-
Click Add JARs and add all the jars shown listed under JViews Framework (or the user library name you have chosen) and click OK.
 The number of jars and their directory paths might vary depending on your version of JViews.