Managing Symbols
Describes the operations you can carry out in the Symbols pane.

Explains how symbols are managed.
Explains how to add new group of symbols.
Explains how to add a new symbol from a palette
Explains how to edit a symbol from a palette.
Explains how to edit, delete, duplicate, hide and move symbols.
Explains how to set properties for a symbol layer.
Overview
Symbols are managed using the buttons in the Symbols pane and the other panes that appear when you click a button.
NOTE Most of these operations can also be carried out using the pop-up menu, displayed when you click the right mouse button on a group or symbol.
Adding a new group
To add a new group:
1. Click the Symbols tab on the left of the main window.
2. Click the
3. 
4. button and enter a name for the new group in the Group Name window.
5. The following figure shows an example of the Group Name window.
6. 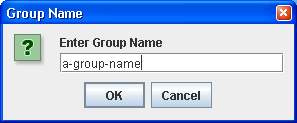
Adding a new group
Adding a new symbol from a palette
To add a new symbol from a palette of symbols to a group:
1. Click the Symbols tab on the left of the Map Builder main window.
This contains the symbol palette selection panel.
1. 
2. Select a symbol and click the
3. 
4. button.
5. You can select an element in the tree here and
Drag and drop it on the map
Drag & drop it somewhere in the tree
Click
Add. The symbol will be added in the selected group
6. You can also open a custom palette, through the Load a Palette button which allows you to select a palette jar file.
7. When you have finished using this panel, you can hide it with the Hide button.
Editing a symbol from a palette
Once you have created a symbol from a palette, it is very simple to change its properties.
To edit a symbol from a palette:
You can either
double-click in the tree view, or
click the edit symbol button
on the tree view toolbar.
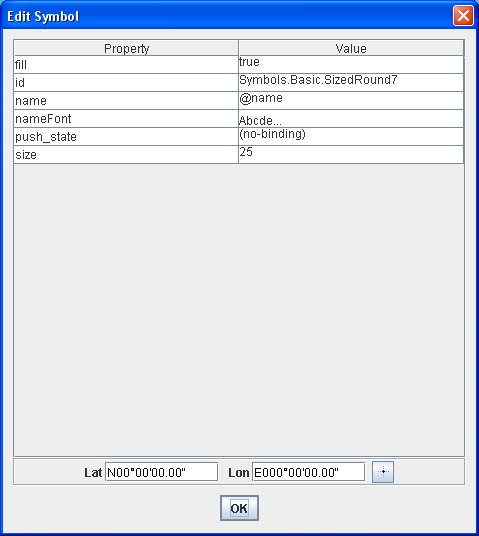
This will display a property sheet where you can modify the symbol parameters, according to the way they have been defined in the palette, but also change their coordinates on the map or their SDM ID.
Sample property sheet
Symbol operations
Select the symbol you want to edit and click the
button. The Edit Symbol pane opens up directly for you to edit symbol properties.
To delete a symbol:
Select the symbol you want to delete and click the
button. You are asked to confirm the deletion.
To duplicate a symbol:
Select a symbol and click the
button.
To hide or show a symbol or group:
Select a symbol or group and click the
or
button. When hidden the symbol or group is unavailable in the symbology tree.
To move symbols
1. You can drag and drop (move) groups and symbols from one group to another.
Setting symbol layer properties
To set the symbol layer properties:
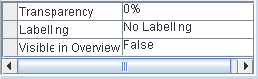
Enter the property values in the map style property sheet.
The following figure shows the map style property sheet for a symbol layer
Setting symbol layer properties
The property values you set are applied to all the symbols in the current layer.
Copyright © 2018, Rogue Wave Software, Inc. All Rights Reserved.