Creating a New Session
See Creating a session Without HostAccess Running.
The following section tells you how to create a session in HostAccess.
To set up a new session:
-
Select New from the Session menu. If more than one Session Template is available, a dialog appears. Select the required template from the dialog and select OK, or select Cancel if no template is required. If only one template is available, this will be used by default.
-
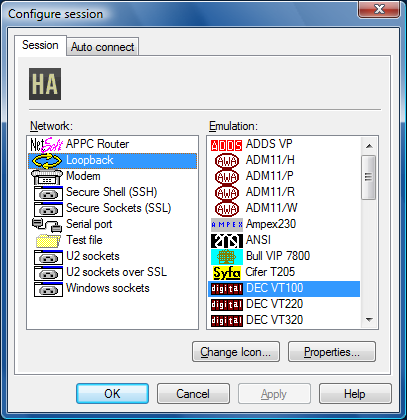
The Configure Session dialog is then displayed. This is also available from the Configure menu.
-
You can also use the Session option from the Configure menu or the
 tool bar button to define details of your session setup or click on the tool bar button shown. You can then define details for your network, emulation and Auto connect, using the relevant tabbed dialog boxes.
 -
Highlight the network stack and the emulation, then click on Properties to configure.
-
To change the session icon, click on the Change Icon button. On the displayed dialog, select an icon from the list, or point to another application and use its icons.
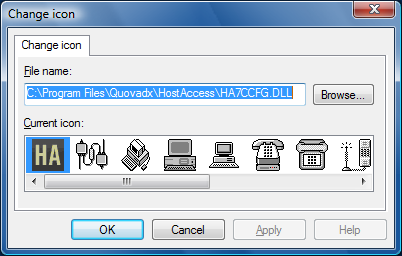 The new icon appears wherever the session file can be seen, for example, in the Desktop, Explorer and HostAccess.
-
To set network details, fill in the details and click on OK. Specific information for each network can be found in the Emulations and Networks section.
See Network connections.
-
To set emulation details, click on the emulation tab. As with the network details, most emulations have different parameters.
See Emulations.