Viewing build summary information in automation suites
A build represents a group of automated tests run in an automated testing tool. You can view a summary of builds in an automation suite for a quick view of build status, the status of tests run from the build, and other basic information about the build. You can also drill down to view more detailed information about a specific build. See Viewing builds.
1. Click Automation Suites in the left navigation area.
The Automation Suites list opens.
2. Click the suite name or number. You can also select the suite, click Actions, and choose View.
The suite page opens.
3. Click the Builds tab.
Builds submitted to the automation suite are displayed. See Build status and Automated test result status for more information about statuses.
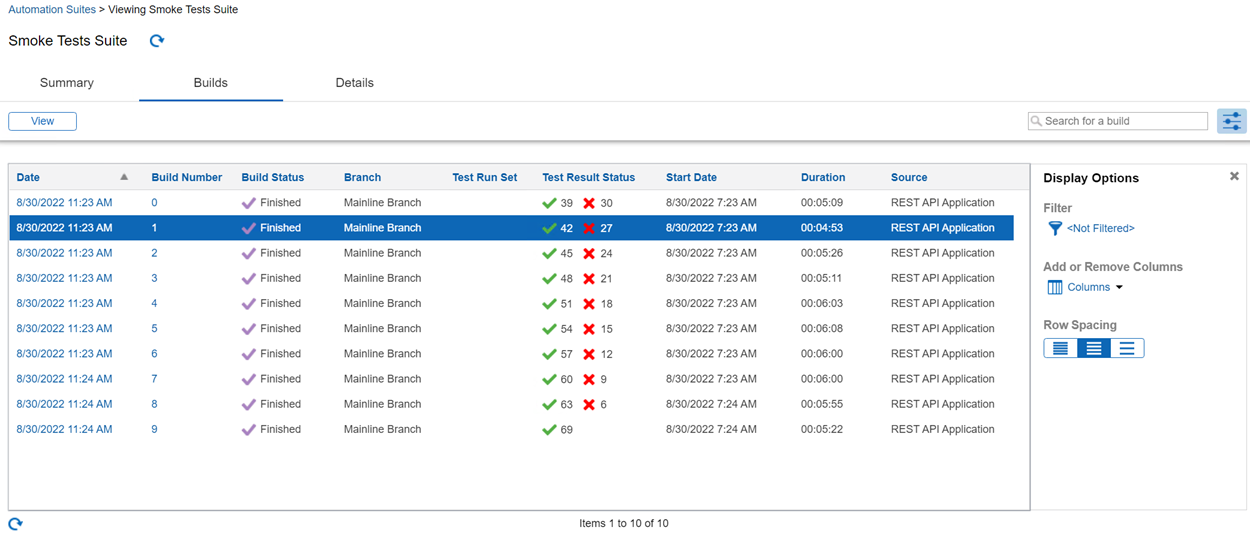
Default columns
| Column | Displays: | More information |
|---|---|---|
| Date | Date and time the build was submitted to Helix ALM | -- |
| Build Number | Build number submitted to Helix ALM | -- |
| Build Status | Status of the build | Build status |
| Branch | Branch name for the build submitted to Helix ALM | Viewing automated test result details |
| Test Run Set | Test run set the build is in | -- |
| Start Date | Date and time the build started | -- |
| Duration | Duration of the build | -- |
| Source | How the build was submitted to Helix ALM | -- |
Actions
| To: | Do this: | More information |
|---|---|---|
| Search for a build | Enter a value in the search field. Matching results are displayed as you type. | -- |
| View detailed information about a build, including associated test results, all results, and details |
|
Viewing builds |
| Refresh the page | Click  . . |
-- |
Changing display options
You can select options to change what the Builds tab displays and how. To open the Display Options pane, click  .
.
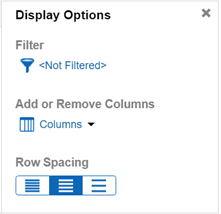
Filter
Click  . to apply a filter to only show specific builds on the Builds tab. See Applying filters to builds and automated test results.
Add or Remove Columns
- To add a column to the list, click Columns and choose the column to add. You can also search for a column.
- To remove a column, click Columns choose the column to remove. Check marks indicate currently displayed columns. You can also mouse over a column heading in the list and click
 to remove it.
Row Spacing
To adjust the spacing of rows in the list, click a row spacing button.
| Button | Spacing |
|---|---|

|
Narrow |

|
Normal |

|
Wide |