Managing Helix ALM
Administrative and other high-level users can perform a variety of tasks to manage a Helix ALM project, including managing users and customers, configuring fields, and more.
Tip: Additional configuration options are available in the desktop client.
Accessing the Administration area
To open the Administration area, click Administration.
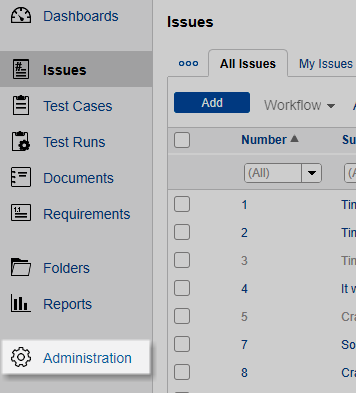
The Admin Home page opens.
Administration areas
Following are the Administration areas. Click an area to perform tasks related to it. Keep in mind that the names may be different to match your team's terminology and you may not have access to all areas depending on your security permissions.
People
| Area | Use to: | More information |
|---|---|---|
| Users | Add and manage project users. Users can generally perform actions in projects, but may be added only for tracking purposes. | Using the Users list |
| Customers | Add and manage customers for the project. Customers are generally end-users of your products or services, but do not have access to perform actions in the project. | Using the Customers list |
| Logged In Users | See the users logged in to the project, log out users or lock the project so no one else can log in while you perform project maintenance. | Managing logged in users |
Fields
| Area | Use to: | More information |
|---|---|---|
| Custom Fields | Configure fields to capture information about items and use your team's terminology. | Configuring custom fields |
| System Fields | Modify system fields, which are available by default in every Helix ALM project. | Editing system fields |
| Field Relationships | Configure dependencies between dropdown fields. | Configuring field relationships |
| Dropdown Field Values | Configure values for dropdown fields. Add, edit, reorder, and delete values in lists used by dropdown fields. | Configuring dropdown field values |
| Test Variants | Configure test variants to use when describing test cases and generating test runs. | Configuring test variant fields |
| Field Labels | Rename field labels to use your team's terminology. | Renaming field labels |
Import and Export
| Area | Use to: | More information |
|---|---|---|
| Microsoft Word Import | Import requirement documents from a Microsoft Word file to add new requirements to the project. | Importing requirements and requirement documents from Microsoft Word |
| Text Import | Import information from a text file to add new items to the project. | Importing text files |
| XML Import | Import information from an XML file to add new items to the project. | Importing XML files |
| XML Export | Export information to an XML file to import data to other Helix ALM projects or work with it in a third-party application. | Exporting multiple item types to XML |
| ReqIF Import | Import requirements and requirement documents from a ReqIF file to add new items to the project. | Importing requirements and requirement documents from ReqIF |
Baselines
| Area | Use to: | More information |
|---|---|---|
| Compliance | Configure audit trail logging and electronic signatures for baselines. | Configuring baseline compliance settings |
Types
| Area | Use to: | More information |
|---|---|---|
| Requirement Types | Configure the types of requirements your team uses. | Configuring requirement types |
| Folder Types | Configure folder types to differentiate folder purpose and functionality. | Configuring folder types |
Tip: Click Admin Home to go back to the Admin home page with the list of all admin areas.
Navigating from the Administration area
To leave the Administration area and go to another area in the project, you can:
- Click Back to to return to the area you were working in.
- Click Go to and select an area.


