Adding dashboard note widgets
Note widgets are displayed on dashboards and show formatted text and hyperlinks to Helix ALM or external resources. You can include links to Helix ALM items, filtered item lists, reports, folders, task boards, dashboards, and other areas.
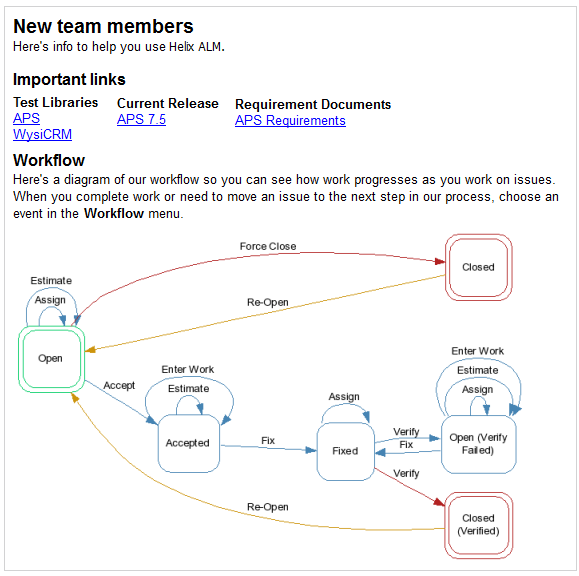
For example, you can create a note widget that displays getting started information for new team members. The widget may include instructions about the Helix ALM project workflow, a diagram that visually explains the workflow, and links to important folders.
1. Choose Tools > Administration > Dashboards or Dashboard Widgets. The available option depends on your security permissions.
If you can configure dashboards and widgets, the Configure Dashboards dialog box opens. Click Configure Widgets.
If you can only configure widgets, the Configure Widgets dialog box opens.
2. Click Add and select Note.
You can add a maximum of 100 note widgets.
3. Specify the basic widget information.
- Name identifies the widget on the dashboard. You can enter up to 128 characters.
- Description provides additional information about data the widget displays and is shown in a tooltip when users mouse over it. If you create multiple widgets with the same name, use the description to distinguish them. You can enter up to 255 characters.
- Security groups are the groups that can view the widget. You can select a specific group, multiple groups, or <All> to let all groups view the widget.
4. Add text and images to the content area. You can add up to 100 images. Image file size must be less than 10 MB.
Click a button on the toolbar to apply formatting or insert content.
| Button | Use to: |
|---|---|

|
Set the font and font size. |

|
Apply bold, italic, underline, and strikethrough styles to text. |

|
Set the font color and background color. |
|
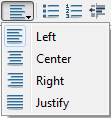
Align content in the field. |

|
Add bulleted and numbered lists. |

|
Increase or decrease the indent. |

|
Insert horizontal rules. |
|
|
Clear all text formatting. |

|
Insert and edit images, screen captures, tables, and hyperlinks. See Inserting images in text fields, Capturing screens, Inserting tables in text fields, and Inserting hyperlinks in text fields. |

|
Insert stamps. See Inserting stamps in text fields. |

|
Print the field contents. |

|
Check spelling. |

|
Open the editor in a new window. This may be helpful if you want more space to view or edit a field with a lot of content. |
Tip: To add hyperlinks to Helix ALM items or other areas, go to the item or area, copy the ttstudio or http URL from the Address bar, and paste it in the widget. To display linked text instead of the URL, select the text to link and click  on the formatting toolbar to add the URL. If you are adding multiple links to a widget, you may want to copy the URLs to Notepad or another application so you can easily paste them in the widget at the same time.
5. Click OK to save the widget.
After saving the widget, add it to a dashboard so users can see it. See Configuring dashboards.


