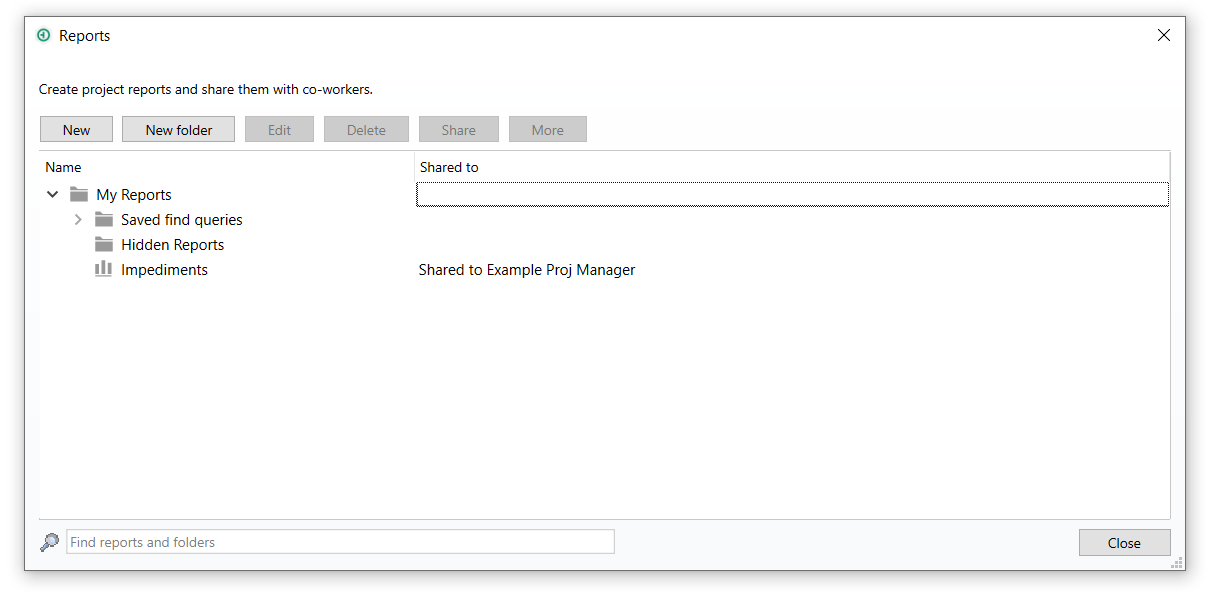
P4 Plan has extensive functionality for creating and sharing Reports. Reports enable you to create search queries that can be saved and reused. These can be configured with options for how the results should be filtered, sorted, and grouped. All P4 Plan users have the ability to create reports, which they can also share with other users and user groups.
You can see your existing reports in the toolbar. Clicking on one will activate it, which updates the current view so it only displays items that match the selected report's settings.
To manage your reports and create new ones, click the My Reports option, which is also located in the toolbar. This opens the Reports interface.

This contains all reports and folders in which they are organised. Here you can access the following actions:
- New - Create a new report. See Creating a report for more information.
- New Folder - Create a new report folder, which are used to organise reports, and will appear alongside them in the toolbar. See Using report folders for more information.
- Edit - Change the settings of the selected report. This opens the same interface used to create new reports.
- Delete - Permanently remove the selected report. You will be asked to confirm this action, as deleted reports cannot be retrieved.
- Share - Share the selected report with other users or user groups. See Sharing reports for more information.
- Subscriptions - Opens a drop-down menu with additional options. For more information, refer to Report subscriptions.
- Email report to subscribers - Send the results of the currently report via email to all subscribers.
- Email report to me - Send the results of the currently report via email to yourself.
- Configure subscription - Opens a dialog box where you can configure how often an automated report email will be sent to all subscribers.
- More - Opens a drop-down menu with additional options:
- Duplicate - Create a new report identical to the one currently selected. You will be asked to name the new report before it's created.
- Rename - Change the name of the selected report.
- New dashboard chart - Open the Dashboard chart wizard. See Adding dashboard charts from the Backlog and Planning views for more information.
- Copy as P4 Plan link - Copy a link to the selected report for the desktop client.
- Copy as URL - Copy a link to the selected report for the web client.
If you want to share the report URL with another user, you also need to share the report to them using the Share button.