You can create a pipeline using a visual builder, where you add tasks and then connect them to construct the pipeline.
1. Click More > Pipelines and workflows in the toolbar.
The Pipelines and workflows interface appears.
2. Click Create pipeline.
The New pipeline interface appears.
3. Enter a name and click OK to save.
The pipeline is created and added to the list.
4. Select the pipeline and click Edit.
The Edit pipeline dialog appears.
5. In this interface, you can use the following options to add nodes to the pipeline:
- New task - Creates a new task in the pipeline.
- New reference - Creates a node that references a different pipeline. You can use this to nest one pipeline inside another, enabling you to create more complex pipeline structures.
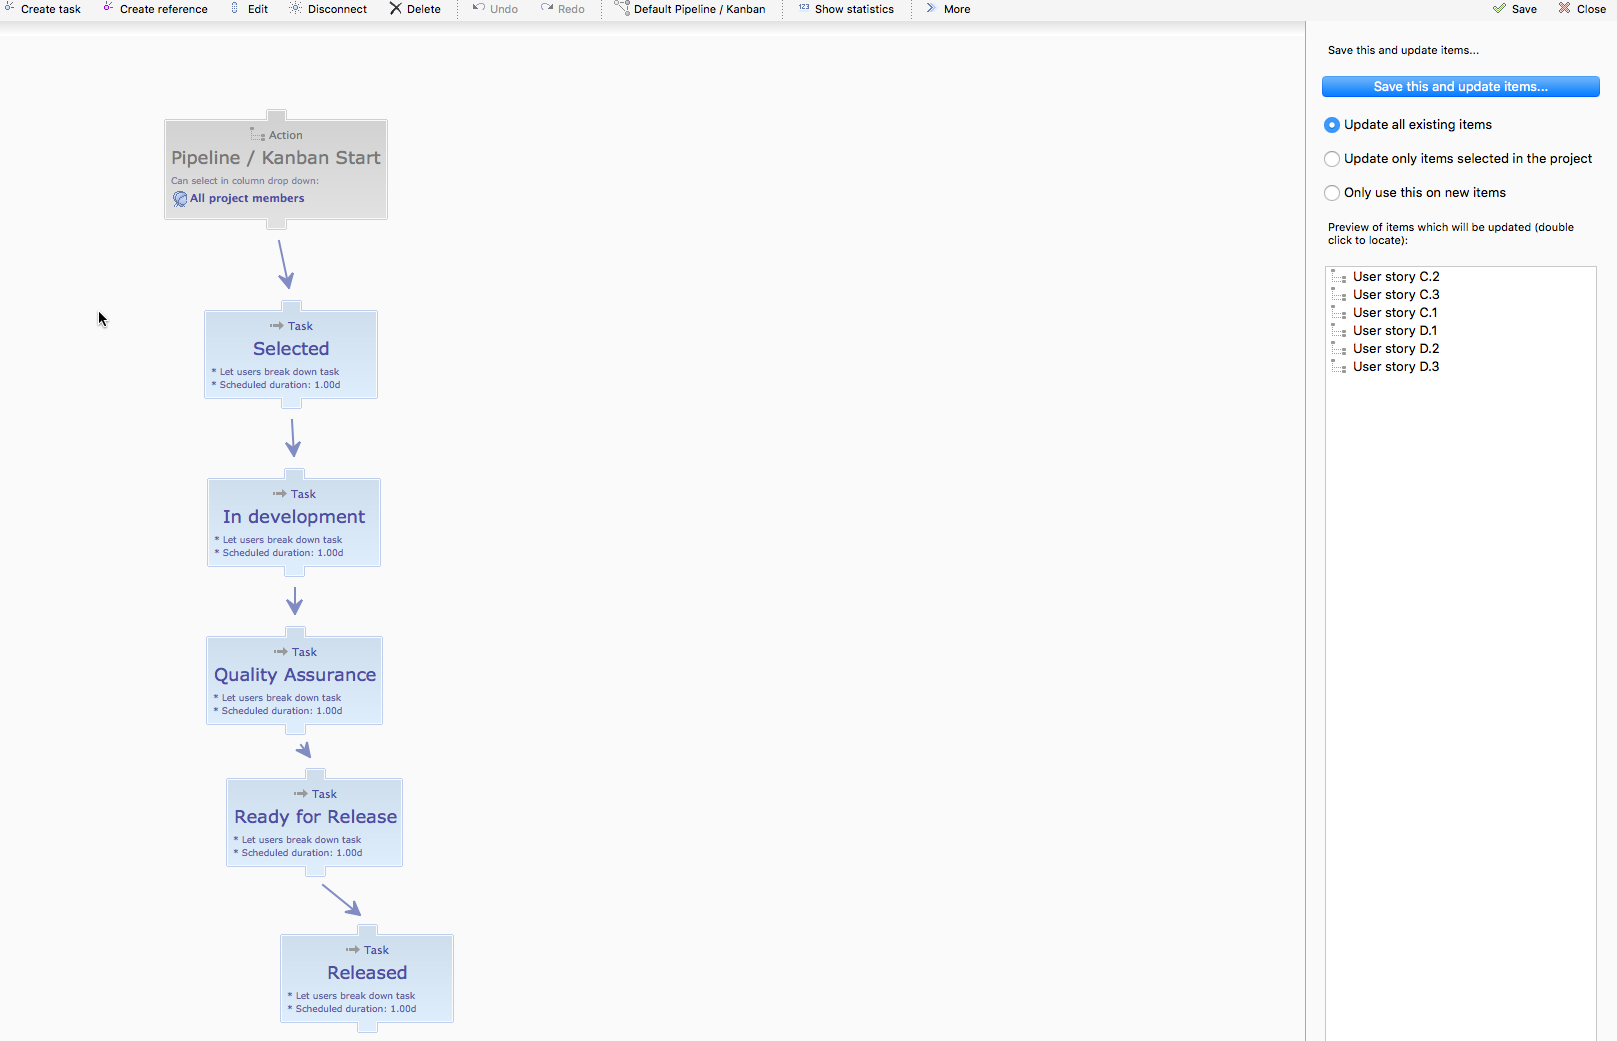
6. Connect items to create dependencies between them. Click on the tabs at the top and bottom of each item and drag to connect it to another item.
An arrow visualizes the connection between the items.
7. Use the remaining options to manage the pipeline's settings:
- Edit - Configures the settings for the selected task or reference. For more information, see Configuring pipeline tasks.
- Disconnect - Removes all connections from the selected item.
- Delete - Removes the selected item.
- Undo/Redo - Reverses or repeats the last action.
- Default pipeline - Reverts the pipeline to the default. Selecting this action removes all changes you have made, including removing all items.
- Show statistics - Opens a menu where you can select which statistics you want to display in the Edit pipeline dialog. The default is to show no statistics, but you can choose to display basic and advanced statistics.
- More - Opens a menu with the following options:
- Examples - Enables you to apply one of several pipeline templates. Selecting one will replace the current pipeline with the example.
- Settings for this pipeline - Enables you to select the Tasks must be completed in sequential order option. Selecting this ensures that tasks can only be completed in the defined order and team members will not be able to change item status before it can start.
- Export this view as XML - Saves the pipeline as an
.xmlfile, which can be imported to another project. - Import to this view from XML - Enables you to import a pipeline from an
.xmlfile. Use the file selector to choose the file to import.
8. Click Save this and update items to save the pipeline.