You may want to move databases between servers, or maybe move a database from a trial server installation. To do this, locate where the original server was installed and copy the directory for the database you want to move. Before copying it is best to install the same version of the server that you are going to install on the new machine to minimize the risk of incompatibilities. Also make sure to stop the P4 Plan Server service before you copy the database to make sure you get a consistent copy. The default location for the databases would be:
/Applications/P4 Plan Server/Databases
Once you have the database copied, install a server on the new machine (if you don't have a server installed). When the configuration guide starts you may either run through it, or skip it and configure everything manually. If you run through the configuration guide let it create a dummy database that can later be deleted.
Now put the copied database directory either under the "Databases" directory in the directory where you installed the server, or in a place of your choosing.
When you have the database files where you want them, start P4 Plan Server Administrator and connect to the server (see Using the P4 Plan Server Administrator).
If this is a newly installed server, start by changing the license to the license supplied by email.
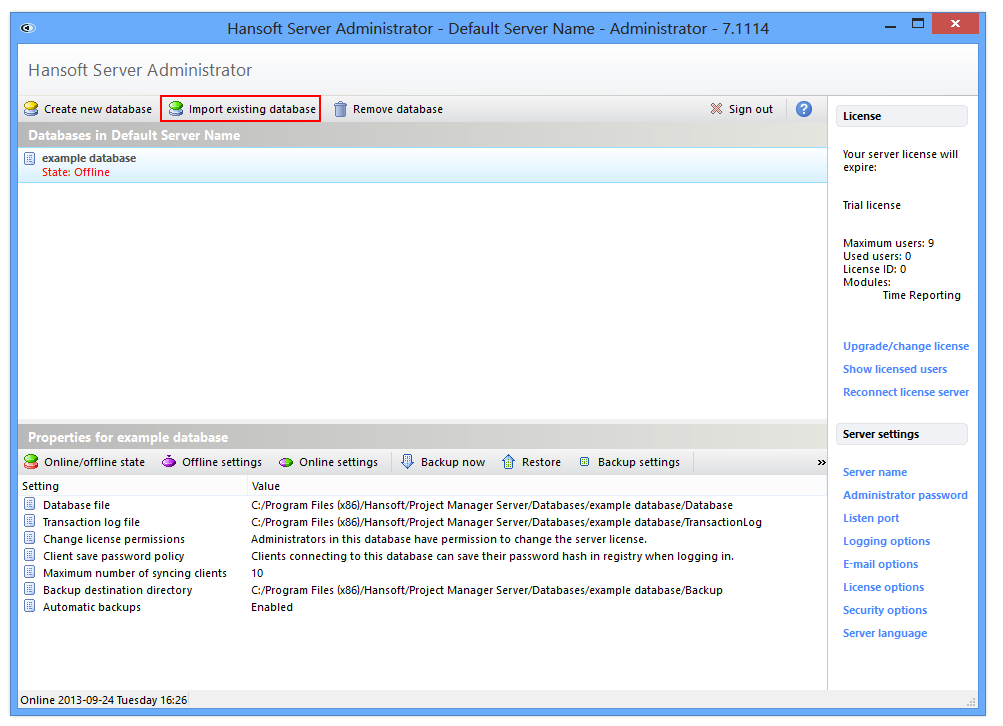
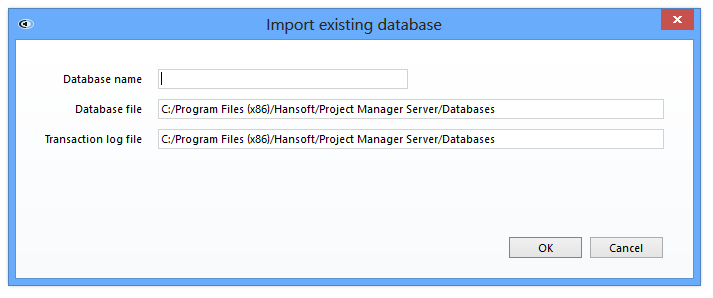
Click Import Existing Database. Supply the name that will be presented to the user when logging in to a server.

Supply the location of your database and transaction log files. If you placed the database files under the "Databases" folder of the installation and named the database to the same name as the folder the files will already point to the correct location. When you click OK, the server will try to load the database and tell you if something failed.

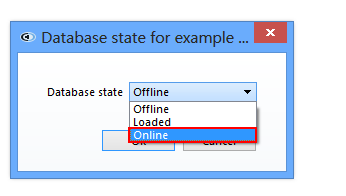
When you have imported the database you must set the state to "Online" before any users can connect to it.

If you created a dummy database in the Initial Setup Guide you should now remove it by selecting it and then click Remove Database.
Set server user permission
"User" in this case is not an account associated with a real life person, but instead refers to a system operation. More specifically it gives P4 Plan the privilege of editing and executing the database file.
You can also set user permission by using this command:
chown –R hansoft:hansoft [HelixPlanServerDir]/Databases/[DatabaseName]