Pop-up Menus
Before being attached to the menu bar, a pop-up menu must be inserted and edited in the workspace.
To insert a pop-up menu (IlvPopupMenu) in the workspace:
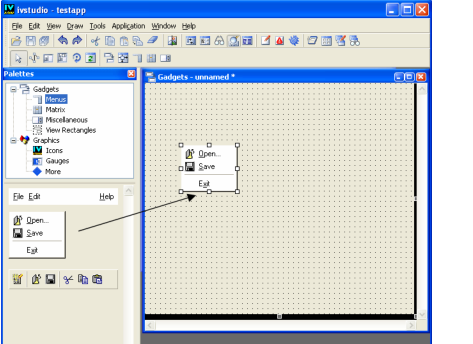
1. In the top pane of the Palettes panel, click Menus.
The Menus palette is displayed in the bottom pane of the Palettes panel.
2. Click the pop-up menu gadget and drag it to the Gadgets buffer window.

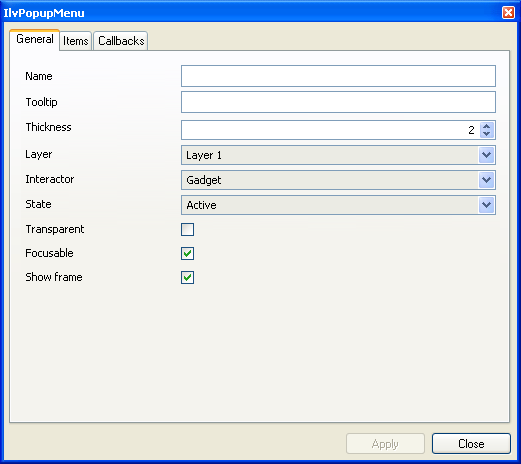
3. Double-click the pop-up menu to display its inspector panel.

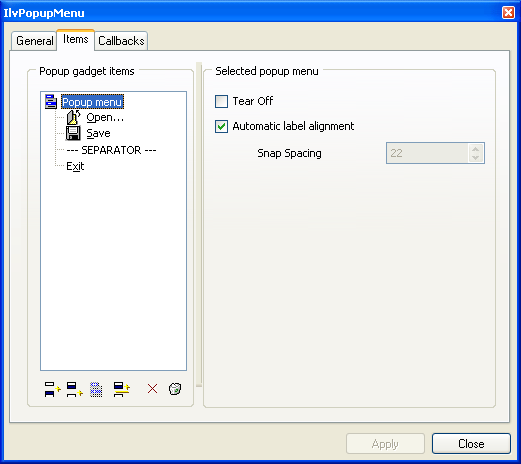
4. To insert, add, or remove items from the pop-up menu in the buffer window, use the Items page of the PopupMenu inspector. You can also add a separator between a set of menu items.

The left side of the page displays the structure of the pop-up menu as a tree. To apply changes to the whole pop-up menu or to each one of the items of which it is composed, select the appropriate item in the tree and make the changes you want in the right side of the page.
5. Click Apply to validate the changes.
Attaching Pop-up Menus to the Menu Bar
To attach pop-up menus to menu items:
1. Click the Menu mode icon in the Editing Modes toolbar:

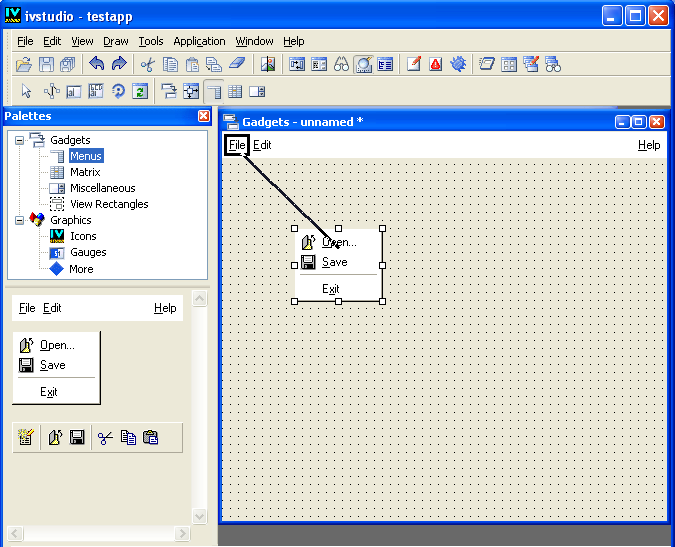
2. Click the pop-up menu and drag the mouse to the menu bar item to which you want to attach it.

As you drag the mouse, a black line appears linking the two items. The pop-up menu disappears when you release the mouse button.
To edit a pop-up menu that has been attached to a menu bar or another pop-up menu item:
1. Go back to the Menu mode.
2. Double-click the menu item to which the pop-up menu is attached.
Its submenu tears off and can be selected and edited.
Published date: 05/24/2022
Last modified date: 02/24/2022


