The Application Buffer
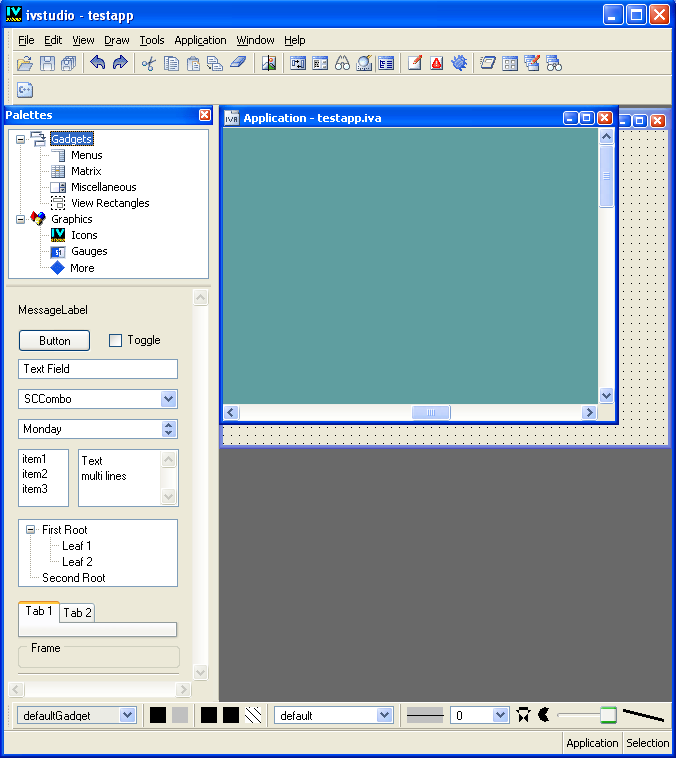
In Rogue Wave® Views Studio, you edit an application via the Application buffer window. When you launch Rogue Wave Views Studio, a default application called “testapp” is created. To activate the Application buffer window, choose <Application> from the Window menu or click in the Application buffer window (by default, an empty Application buffer window is displayed at start-up). Only one application can be edited at a time.
Figure 3.1 The Application Buffer Window in the Main Window
When the Application buffer window is activated, you will notice the following:

The title bar of the Main window changes to reflect the application file name, followed by the word
<Application>.
The type of the current buffer, Application, is displayed at the bottom right of the Main window.
The Editing Modes toolbar that appears at the top of the Main window contains a single icon, corresponding to the Generate command.
The generic inspector disappears.
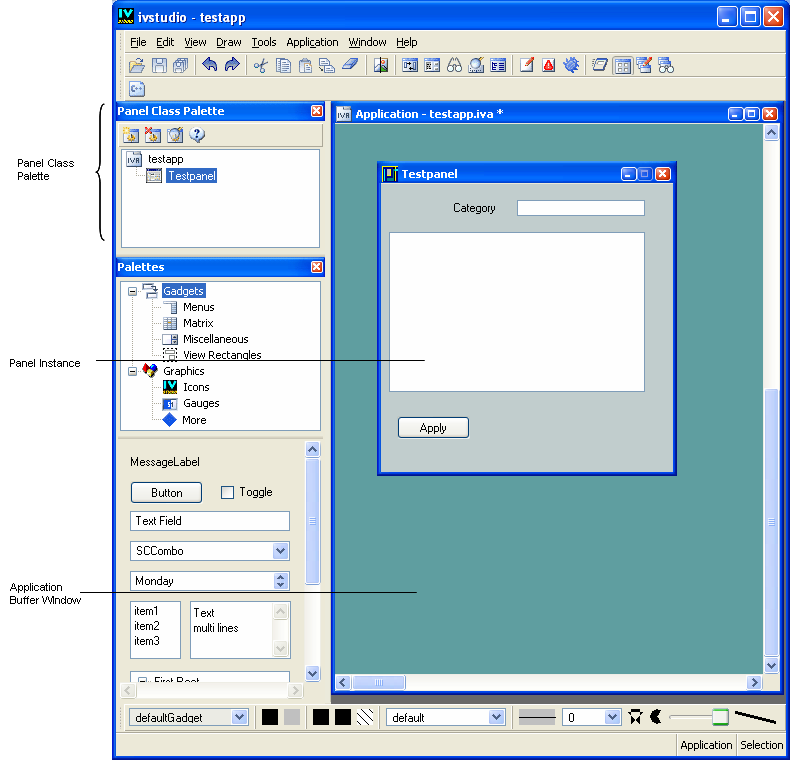
When you edit an application, you will use the Application buffer window along with the Panel Class palette. To activate the Application buffer window and the Panel Class palette, click the Edit Application icon in the toolbar at the top of the Main window.
Figure 3.2 The Edit Application Icon
When you edit an Application buffer, the Main window should look something like this:
Figure 3.3 Editing an Application Buffer
The Application buffer window contains any panel instances that have been added to it.
The Panel Class palette lets you create new panel classes, as well as remove and inspect them. The icons in the palette show the panel classes that have been created for the current application.
Version 5.8
Copyright © 2014, Rogue Wave Software, Inc. All Rights Reserved.