Loading the Towns
In this section, you will see how to attach the attributes and display them.
You are now going to load the towns into the map. This information is in the Pppoint.shp file.
1. Choose Insert a Map File from the File menu.
2. Browse to <shapedir> and open, for example, the file Pppoint.shp.
The Parameters window is displayed.
3. Change the Point rendering style to the circle.
4. On the Source Projection page, set the Source Projection setting as Geographic.
5. On the Attributes page, check the Attach attributes check box to load the attributes into the map.
The names of the towns are included in the attributes, and you want to have this information displayed on our map.
6. On the Scale control page, set the Small scale limit to 1/2,500,000. You will have to zoom to this scale to see the town symbols.
7. Click OK.
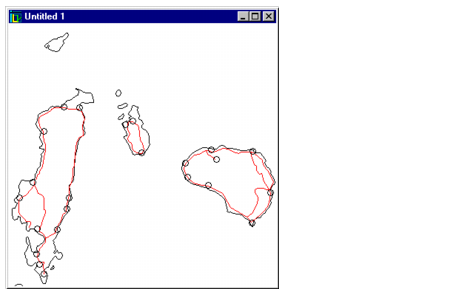
The towns appear in the map as small circles:
Figure 2.5 Towns Loaded into the Map
Displaying the Attached Attributes
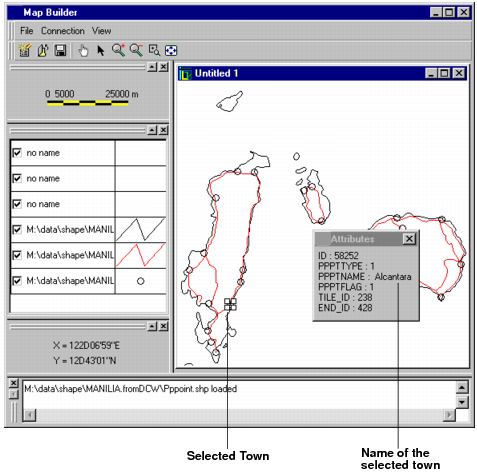
You can now check whether you can see the attributes of the towns that you attached:
1. Open the Attributes window by choosing Attributes from the View menu.
2. Click the Select icon

to activate the selection mode in the buffer.
3. Select some towns on the map.
The attributes are displayed for the towns for which this information was present in the loaded file. If the name of the town has been included in the file information, it will be displayed in the value field to the right of the PPPTNAME property field.
In Figure 2.6, the town of Alcantara has been selected, and its name is indicated in the PPPTNAME value field:
Figure 2.6 Attributes Window
Version 5.8
Copyright © 2014, Rogue Wave Software, Inc. All Rights Reserved.