Creating the Network Panel
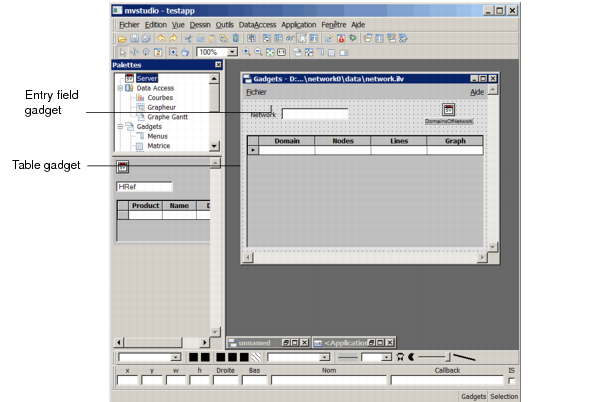
The following sections explain how to create the Network panel of the Network application. As you can see from the illustration below, this panel contains:

An entry field that shows the name of the current network.
A table that represents a network with its main components, that is, domains. Dots appearing in the table cells are hyper-references. Double-clicking on a hyper-reference opens the view related to the pointed object.
For example, if you double-click on the cell at the intersection of Domain#1 and Nodes, you open the panel displaying the nodes that belong to Domain#1.
Figure 8.3 Final Network Panel
When finished, the Network panel will look like this in the Main window.
Figure 8.4 Network Panel in the Main Window
Following is the list of operations you are going to perform to create the Network panel.
Load the Network object model
Create the
DomainsOfNetwork view
Define the Main and the Properties data sources
Fill in the data source tables with values
Associate a table gadget with the Main data source table
Save the Network panel in the Main window
Test the panel
Associate an entry field gadget with the Properties data source table
Set attachments
Run a final test on the Network panel
Version 5.8
Copyright © 2014, Rogue Wave Software, Inc. All Rights Reserved.