Getting started with a JViews Maps JSF application
In order to follow this Getting Started guide, you must have previously created your jsf-hello-world project as described in Getting started with a basic JViews JSF application and your jsf-hello-diagrammer project as described in Getting started with a JViews Diagrammer JSF application. This guide reuses the workspace and jviews-web-samples that you have previously created.
Configuring the JViews Maps JSF library
When developing JViews Maps JSF applications you must use the following jars (in addition to the JViews jars required by a basic JViews Diagrammer JSF application). These jars must also be distributed with your Web applications.
To create a customized user library for the jars required when developing JViews Maps JSF applications:
1. Start Eclipse and open the workspace C:\Rogue Wave\jviews-web-samples (or the folder you chose when creating your workspace).
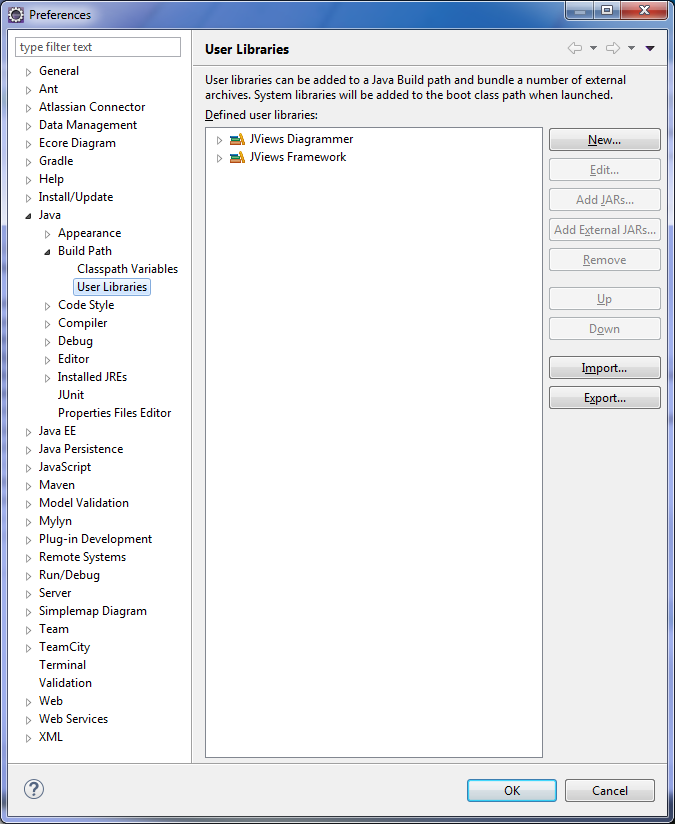
2. Click Windows>Preference>Java>Build Path>User Libraries.
You can see that the JViews Framework and JViews Diagrammer libraries used in previous projects are already listed.
3. 
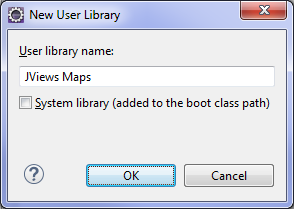
4. Click New and enter a user library name of your choice, for example, JViews Maps and then click OK.
5. 
6. Click Add JARs and add all the jars shown listed under JViews Maps (or the user library name you have chosen) and click OK.
7. 
The number of jars and their directory paths might vary depending on your version of JViews Maps.
The workspace is now configured and ready to receive JViews Maps JSF applications.
Creating the JViews Maps JSF application project
To create your JViews Maps JSF application project
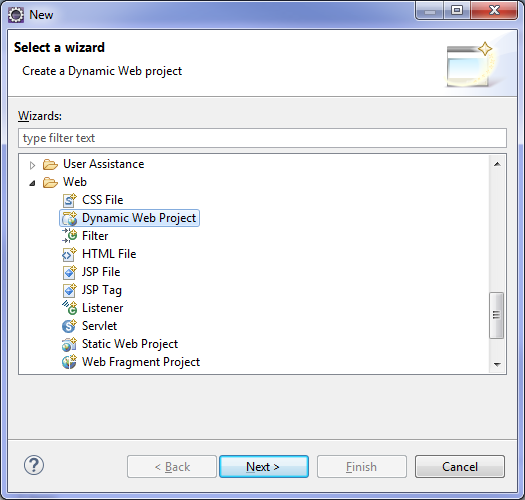
1. Click File>New>Dynamic Web Project.
1. 
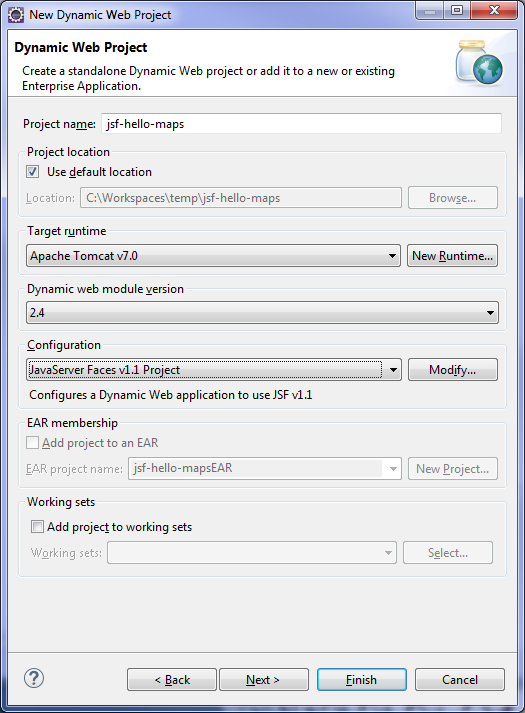
2. Enter jsf-hello-maps as the Project name and select JavaServer Faces v1.1 Project as the Configuration.
3. 
4. Click Next three times consecutively to obtain the following window:
5. 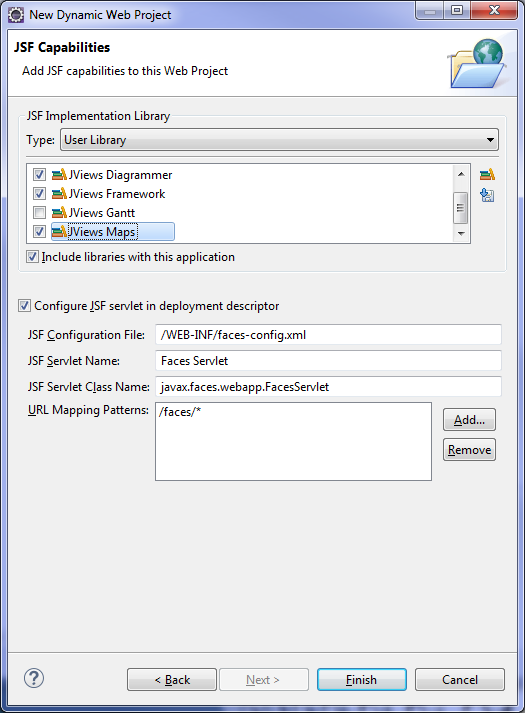
6. Select theJViews Framework, JViews Diagrammer, and JViews Maps check boxes (or the user library names of your choice).
Select *.jsp* from the URL Mapping Patterns and click Remove, as this pattern might cause problems.
Click Finish.
7. If necessary, switch to a Java perspective (you can ignore any Eclipse prompts requesting you to switch to the Java EE perspective) by selecting Windows>Open Perspective>Other…>Java and then click OK.
Preparing the data for a JViews Maps JSF application
The aim of a JViews Maps application is to display maps through Web browsers. There are many ways to create maps with JViews Maps.
This example shows you one of the simplest ways: the map has been previously prepared using JViews desktop applications and saved as an IDPR file. The purpose of this JSF application is to display the map stored in this IDPR file on the Web.
To obtain the required data:
Copy the files world.*, and RA-0*.gif from <installdir>\jviews-maps\codefragments\jsf-hello-maps\webpages to the WebContent folder of your project. The location of this example might change depending on the version of your JViews product.
For alternative ways to provide or to create maps with JViews Maps, refer to the demos and samples provided with your JViews product.
Configuring the JViews servlet
You must repeat the procedure previously described in
Getting started with a basic JViews JSF application. For more information, refer to
Configuring the JViews servlet.
Creating the main JSP page
You must repeat the procedure previously described in
Getting started with a basic JViews JSF application. For more information, refer to
Creating the main JSP page.
Creating a JSF map view
To add a JSF map view:

Open the new
index.jsp file located in the
WebContent folder and add the code shown in bold in the following code example:
<%@ page language="java" contentType="text/html;
charset=ISO-8859-1" pageEncoding="ISO-8859-1"%>
<%@ taglib prefix="f"
uri="http://java.sun.com/jsf/core"%>
<%@ taglib prefix="h"
uri="http://java.sun.com/jsf/html"%>
<%@ taglib
uri="http://www.ilog.com/jviews/tlds/jviews-maps-faces.tld" prefix="jvmf"%>
<!DOCTYPE html PUBLIC "-//W3C//DTD HTML 4.01
Transitional//EN"
"http://www.w3.org/TR/html4/loose.dtd">
<html>
<head>
<meta http-equiv="Content-Type" content="text/html;
charset=ISO-8859-1">
<title>Insert title here</title>
</head>
<body>
<f:view>
<h:form id='jviewsForm'>
<jvmf:mapView id='mapID' width='1280'
height='800' data='/world.idpr'/>
</h:form>
</f:view>
</body>
</html>
The component <jvmf:mapView> enables you to show the map produced with JViews Maps. The data attribute of this component references a JViews Maps project file. Note also that <jvmf:mapView> must be inserted with in a <h:form> component.
This completes the coding of your JViews Maps JSF application. You can now proceed to deploy and test it.
Deploying the JViews Maps JSF application
Your JViews Maps JSF application has been compiled and built automatically by Eclipse™ providing that you have not turned off the Build Automatically option. If you do not have any compilation errors you can deploy your application on the Tomcat server that you previously configured.
To deploy your JViews JSF application on the Tomcat™ server:
1. In the Server tab, right-click Tomcat v7.0 Server at localhost and select Add and Remove…:
1. 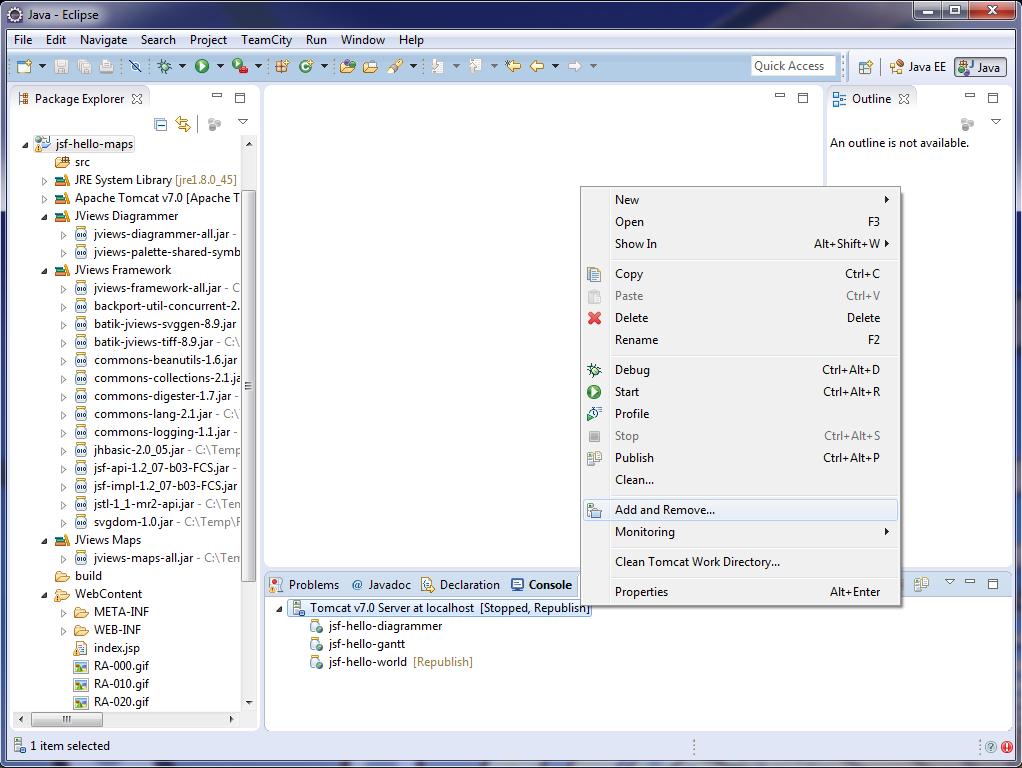
2. You can see the jsf-hello-world and jsf-hello-diagrammer applications you previously created in the right pane. Select jsf-hello-maps in the left pane and click Add >:
3. 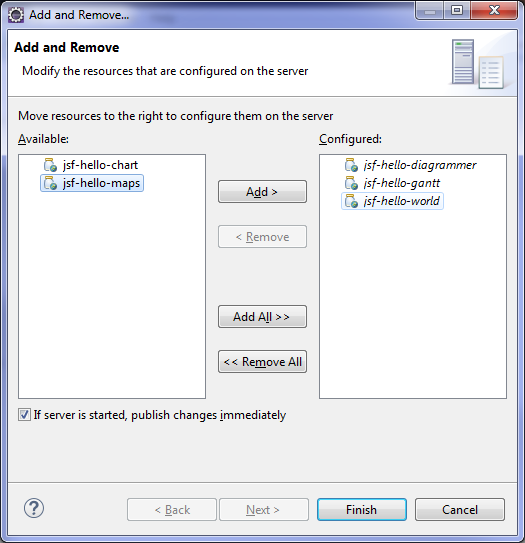
4. Make sure that you can see jsf-hello-world, jsf-hello-diagrammer and jsf-hello-maps in the right pane and click Finish.
Your application is now deployed on the Tomcat server and ready for testing.
Testing a JViews Maps JSF application
To test your JViews Maps JSF application:
1. In the Servers tab, right-click Tomcat v7.0 Server at localhost and select Start (or Restart).
1. 3. 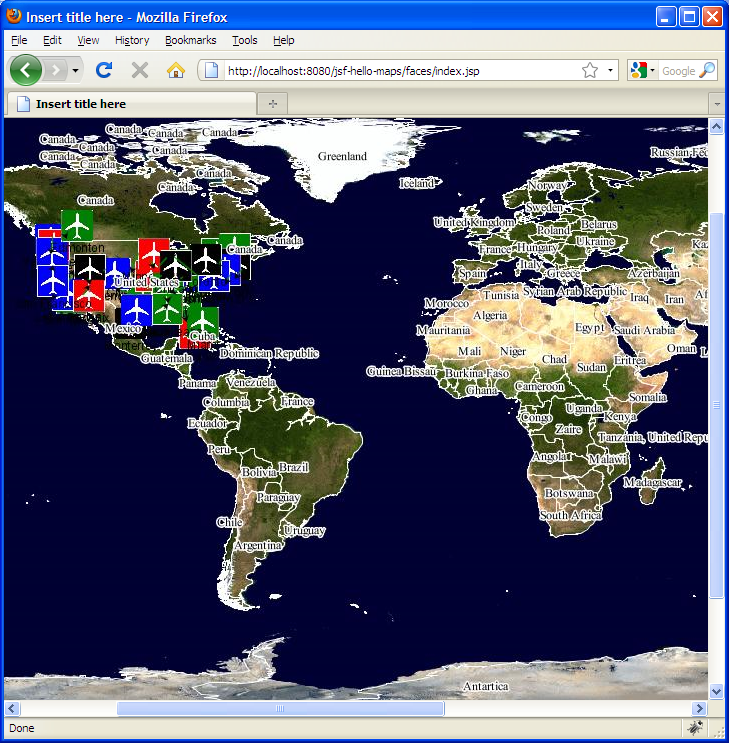
You have now created your first JViews Maps JSF application.
This Getting Started example is shipped with your JViews product and is located in the directory <installdir>\jviews-maps\codefragments\jsf-hello-maps. The location of this directory might vary depending on the version of your product.
This Getting Started guide shows you how to create a JViews Maps JViews JSF view. For information on interactions, such as selection and zoom, see the following sections in this product guide. A number of samples and demos are provided with this product showing different ways to use JViews Maps JSF components.
Copyright © 2018, Rogue Wave Software, Inc. All Rights Reserved.
