Creating column templates
Column templates allow you to customize the displayed columns, column widths, column order, and column sorting for your view of the IP catalog, Advanced search, IP Hierarchy, and Planning Module pages. All users can save templates for personal use. Administrators can save public templates that all users can access and set default templates. See Enabling column templates for the administrator instructions.
The templates are unique for each page type. This allows you to customize templates for each for each page type so the most relevant information can be displayed.
Modifying an existing template
Open a page in IPLM Web with the templates feature such as IP catalog, Advanced search, IPV Resources, or the Planning Module Shopping Cart page.
The Column templates menu shows templates that you have saved or your administrator has shared with you.
-
To create a new template based on a current template, load the existing template, then select Column Templates > (Template name). Once the template is loaded, select Create a Column template, enter a name for the new template, select the permissions, and select Create Template.
-
To rename or delete a template, select Template > (Template name), then select the edit icon
 .
. -
To update a template to the current configuration on the screen, select Template > (Template name), then select the save icon
 . Confirm that you want to update the template.
Creating a column template
Open a page in IPLM Web with the templates feature such as IP catalog, Advanced search, IPV Resources, or the Planning Module Shopping Cart page.
To create a new column template:
-
Customize the displayed columns, column widths, and column sorting. See below for options to customize the columns.
-
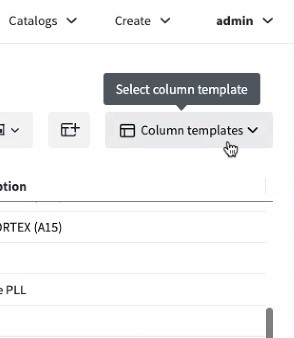
Select the Create column template icon.

-
Enter a Template name, then select Create Template. Administrators can also select Public to share the template with all users or Default to set the template as the default for that page for all users.
Now the template is available in the Templates menu.
Using the Tool panel to customize
-
Select the three horizontal lines menu in any column heading, and select Tool panel.
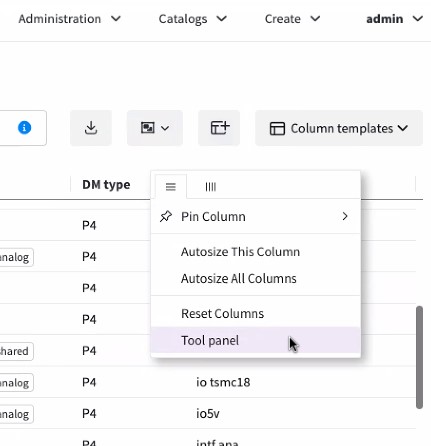
-
In the panel, select or clear the checkbox to show or hide each column. Grab a column and drag it into the table area to reorder the columns. You can also drag the column header of each column to reorder them.
Using the three lines menu to customize
-
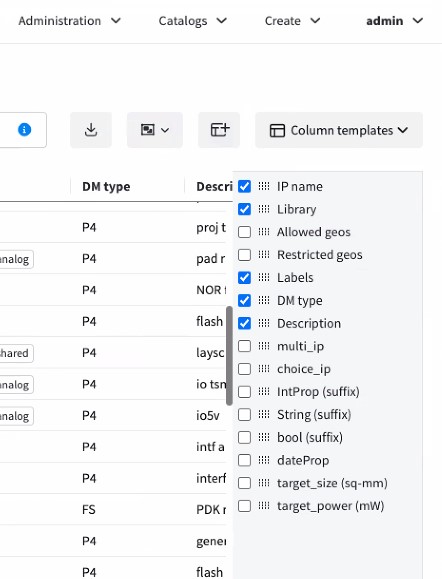
Select the three horizontal lines menu in any column heading, and then select the three vertical lines menu. Select or clear the checkbox to show or hide each column.

Resizing and sort the columns to customize
-
Drag the vertical bar icon left or right to resize the columns.
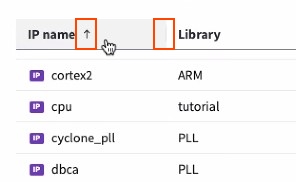
-
Select the column name to sort the column. If no arrow is displayed, the default sorting is used for that column. The arrow icon shows the direction that the column is sorted (see image above).