Manual post build actions
After a Jenkins build completes, you can manually review build details and apply Perforce-specific actions such as tagging the build with a label. These actions help track changes and associate builds with specific Perforce changelists.
View Build and Change Summary
When your build is complete, you can view summary details of the build and the changes in the build.
- From the Jenkins dashboard, click the job link name.
- In the sidebar, click Build History
- Click the Build number of the build you want to view. This opens the build summary and change details.

View Console output
When your build is complete, you can view a detailed log of the build from the console output. To view the console output:
- From the Jenkins dashboard, click the job link name.
- In the sidebar, click Build History
- Click the Build number of the build you want to view. This opens the build summary and change details.
- In the sidebar, click Console Output.
- (Optional) To download the console output or view the output as plain text, use the features in the top right corner of the page.

Manually tag builds
Jenkins can tag builds automatically as a post build action or you can manually tag of a build. The Tags are stored in the Perforce P4 Server as automatic labels with the label view based on the workspace at the time of tagging. For information about tagging a build with a with Post Build Action, see Perforce: Label Build.
Manually tag a build:
- From the Jenkins dashboard, click a Completed job link name from the table.
- Click the build number in the Build History table in the sidebar.
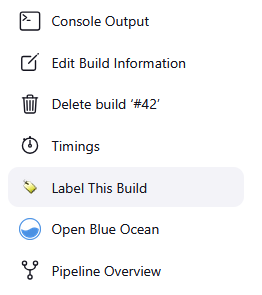
-
Click Label This Build in the sidebar menu. This will open appear for jobs that have been Completed.
-
The Label Name and Description are automatically populated by Jenkins. Update these fields with new values.

- Click Label Build to add the label to PerforceP4 Server.
The label details are displayed for the build. New labels can be added to the same build or labels can be updated by using the same label name.