Changing item list columns
You can customize information displayed in
If you make changes to columns and want to save the configuration to use later, you can save the tab. See Saving the current item list tab.
On this page:
Adding and removing columns
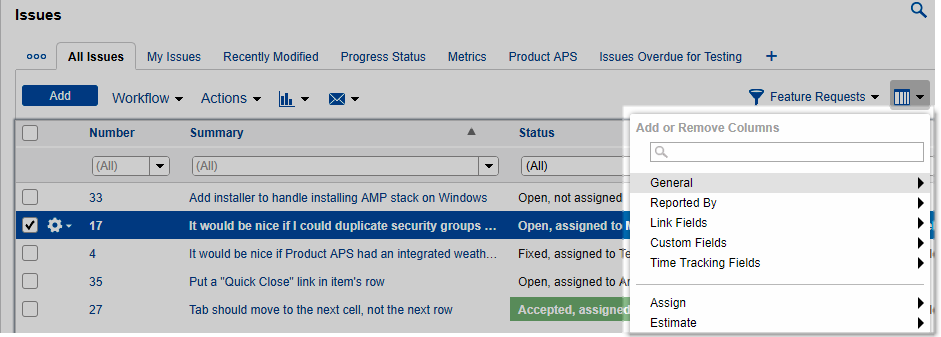
You can add and remove columns in item lists. To add and remove columns in the Filters and Reports lists, see Changing Filters list display options and Changing Reports list display options.
- To add a column, click
 and choose the column to add. You can also search for a column.
 - To remove a column, click and choose the column to remove. Check marks indicate currently displayed columns. You can also mouse over a column heading and click
 to remove it.
Rearranging columns
Click the column heading to move and drag it to the new location.
Sorting columns
- To sort items in the list based on values in the column, click a column heading. An arrow is displayed to indicate the sort order. An up arrow indicates ascending order and a down arrow indicates descending order. Click the column heading again to switch the sort order.
- To sort items based on a secondary value, Shift+click another column heading. For example, you may want to sort issues based on product and then by type. A double arrow indicates the column is used as secondary sort criteria and the sort order. Shift+click the column heading again to switch the sort order from ascending to descending or vice versa.
Resizing columns
Drag the divide bar on the right side of a column to change the width.