Configuring task board columns
Task board columns group items based on overall status for your project. To configure columns, add columns that represent the high-level statuses your team uses. Then, add workflow states to each column to indicate the states items must be in to be displayed in a column.
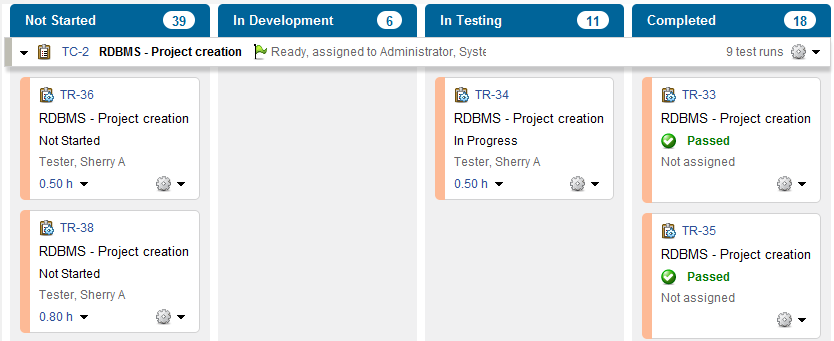
A column can contain different item types in different workflow states. For example, a task board may have Not Started, In Development, In Testing, and Complete columns. The Not Started column may contain issues in the New state, requirements and test cases in Draft states, and test runs in the Not Started state.
You can add up to 15 columns to a task board.

1. Click the Columns tab when you are adding or editing a task board.
An empty column is automatically created when adding task boards. All workflow states in the project are displayed in the Not Displayed column.
Tip: To show or hide inactive workflow states, select or clear Show inactive states. Inactive states are indicated with an Inactive label and are displayed after active states.
2. Click Add Column to add a column to the task board. The column is added to the right of existing columns.
3. Enter the column Name.
The name is required and must be unique. You can enter up to 64 characters.
4. Enter a column Description.
The description is displayed when users mouse over the column name in the task board. You can enter up to 255 characters.
5. Optionally enter a WIP (Work in Progress) limit to indicate the maximum number of cards the column can contain in all swimlanes. You can enter up to 5 digits.
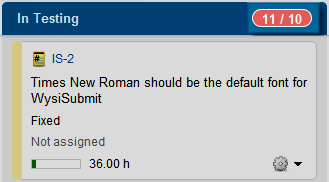
WIP limits can help you quickly identify bottlenecks that prevent items from moving through the workflow. The number of cards in a column is always displayed in the column header. If a WIP limit is set, it is also displayed. For example, if a column contains 4 cards and the WIP limit is 10, 4/10 is displayed. If the number of cards in the column exceeds the WIP limit, the numbers are displayed in a red oval.

6. To add a workflow state to a column, drag the state card to the column. The item type icon and color on the state card help identify the item type.
You can also click  or
or  in cards to move states left or right one column, or click Move and choose a column to add the state to. States in the Not Displayed column are not visible in the task board. To remove a state from a column and move it to the Not Displayed column, click
  on the card.
Tip: To narrow the available states to specific item types, select or clear types in the Show list. Select <All Types> to display all item types. You can also search for a state to narrow the available states. The Show list is not displayed if you are only logged in to issue management in the project.
7. Click  or
or  in a column to move it left or right.
8. Click Delete to delete a column.
You are prompted to delete the column. Click Delete to confirm the deletion. States in the column move to the Not Displayed column.
9. Click OK to save the changes.
Note: See Configuring task board cards and Configuring task board swimlanes for information about configuring other task board settings.


