Setting folder permissions
Folder permissions make it easy to share access to folders without the risk of others making undesired changes. You can control who can modify a folder and its contents. For example, you may want only a product owner to manage a release folder and its sprint subfolders to ensure only the agreed-upon user stories are in a sprint folder.
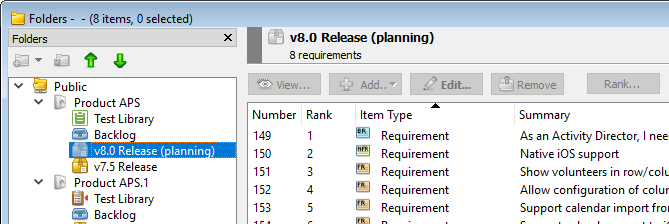
If a user does not have permissions for a folder, the folder icon is gray.

Viewing and editing items in folders is controlled by security group commands and workflow.
You can provide different permissions to specific users and security groups. The following table shows the actions that each permission level allows.
| Action | All folder permissions | Add, remove, and rank items in folder | Add items in folder | No permissions |
|---|---|---|---|---|
| Lock and unlock folder | Yes | No | No | No |
| Edit folder details | Yes | No | No | No |
| Add subfolders | Yes | No | No | No |
| Move subfolders | Yes | No | No | No |
| Delete subfolders | Yes | No | No | No |
| Add items to folder | Yes | Yes | Yes | No |
| Remove items from folder | Yes | Yes | No | No |
| Rank or order items in folder | Yes | Yes | No | No |
| Move folder | Yes | No | No | No |
| Move subfolder | Yes | No | No | No |
| Delete folder | Yes | No | No | No |
Note: If a folder is locked, no one can edit the folder details, add items to the folder, remove items from the folder, or rank items in the folder. See Locking and unlocking folders.
1. Click the
Note: At least one user or security group must have all permissions before you can add the folder or save the changes.
2. Select the
3. To add permission for a specific user or security group, click Add.
The Add Permission dialog box opens.
4. Select
5. Select a Permission for the selected user
If a specific user is in the permissions list and a security group they are in is also in the list, the highest permission level is used.
6. Click
The selected users and security groups are added to the permissions list.
7. Repeat steps
8. To change a permission in the list,
9. To delete a permission from the list, select it and click
10. Click Check Permissions to check for problems in the permissions list, such as the user or group not having access to the folder or command security to perform actions based on the selected permission.
11. If there are any problems, ![]() is displayed next to the user group. Mouse over the icon for more information and then fix any problems.
is displayed next to the user group. Mouse over the icon for more information and then fix any problems.
12. Click
Note: Any subfolders added to the folder will have the same permissions, but you can change them.


