Using geofencing
Geofencing allows you to restrict access to IPs based on the user's current geographic location (geo), which is determined by their IPv4 address used to access the platform. If you accesses an IP from a geo that is restricted, you will not see the IP listed through PiCLI or IPLM Web and if you load a workspace, it will be a partial workspace.
Geos must be created by an administrator. See Configuring geofencing for more information.
IP owners or adminstrators can attach or detach geos from IPs.
Include and exclude geos for IPs
-
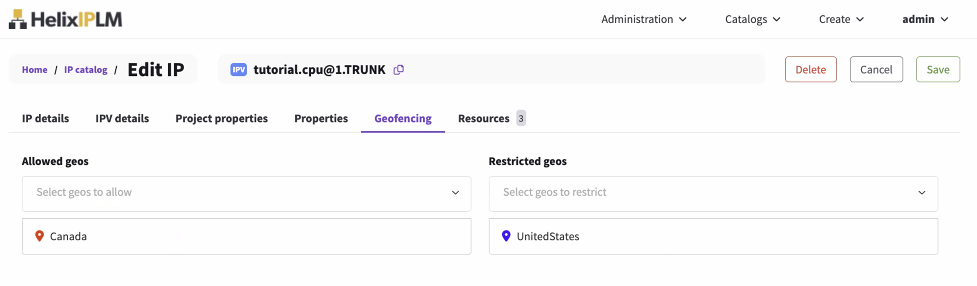
Select Catalogs > IP Catalog, and then select an IP in the catalog.
The IP page opens.
-
Select Edit IP, and then select the Geofencing tab.
The Geofencing tab opens and shows drop-down menus with the configured geos as well as any previously selected geos.
-
Select the Allowed geos and Restricted geos, and the select Save.
A confirmation dialog opens. Select Save IP to save the geofencing changes.
Geos truth table
This table shows whether the geo is blocked in each possible scenario.
| Allowed geos | Restricted geos | Is the geo blocked? |
|---|---|---|
| Empty | Empty | No |
| Empty | IPv4 Address not in range of any of the specified geos | No |
| Empty | IPv4 address is in range of a specified geo | Yes |
| IPv4 Address not in range of any of the specified geos | Don't care | Yes |
| IPv4 address is in range of a specified geo | IPv4 Address not in range of any of the specified geos | No |
| IPv4 address is in range of a specified geo | IPv4 address is in range of a specified geo | Yes |