The To Do List displays a summary of all tasks, items, and bugs that have been assigned to the currently logged in user, as well as a news feed of recent activity. It is also possible to enable a "Time spent" column.
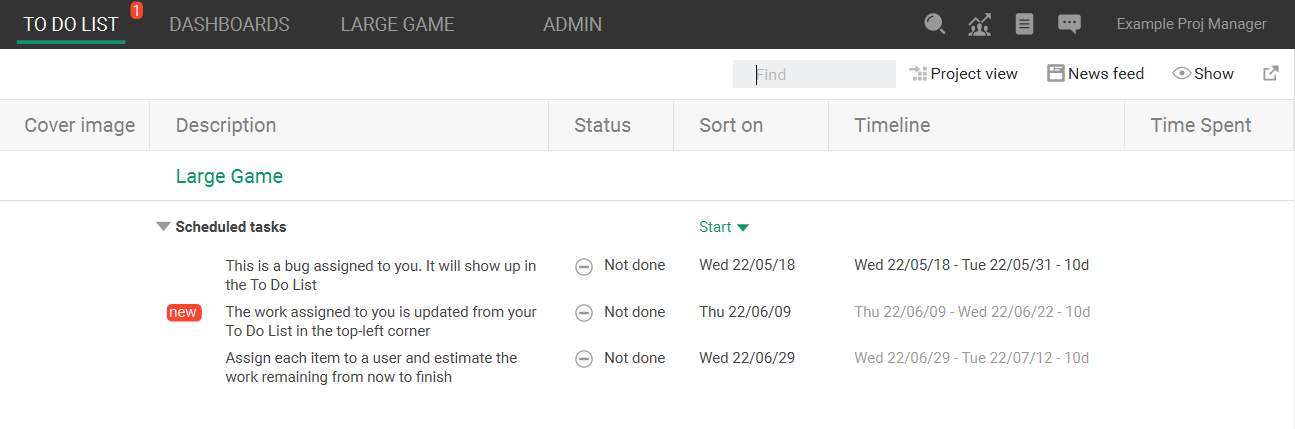
The To Do List has separate sections for each project the user is a member of, which are further divided into sections for sprints, scheduled tasks, and bugs. Each item is presented as a summarized task, showing the task name (with the sub-project path, if applicable), the status, and the work or time remaining on the task. The user can freely change status and their work remaining estimates.
Any new items will be signified by a  icon, also increasing the counter on the To Do List entry in the left-hand Navigation pane. Items with new comments will display the New comment icon
  .
.
Viewing the To Do List
1. Click To Do List
2. Click the arrow icon next to an item to expand it.
Each row will contain information about each item. The following values can be edited by double-clicking in the column cell:
- Status
- Work Remaining / Timeline
- Time Spent
You can use the Sort On column to determine how each list should be sorted, which is covered in Sorting the To Do List.
3. Double-click an item to view and edit its details. See Editing item details for more information.
4. You can customise the To Do List both by moving them and by adding custom columns. See Configuring columns in the To Do List for more information.
1. Double-click the Description cell for an item in the To Do List, or select the item and click the Show > Show Item details window option above the list.
This opens the The dDetails window for the selected item.
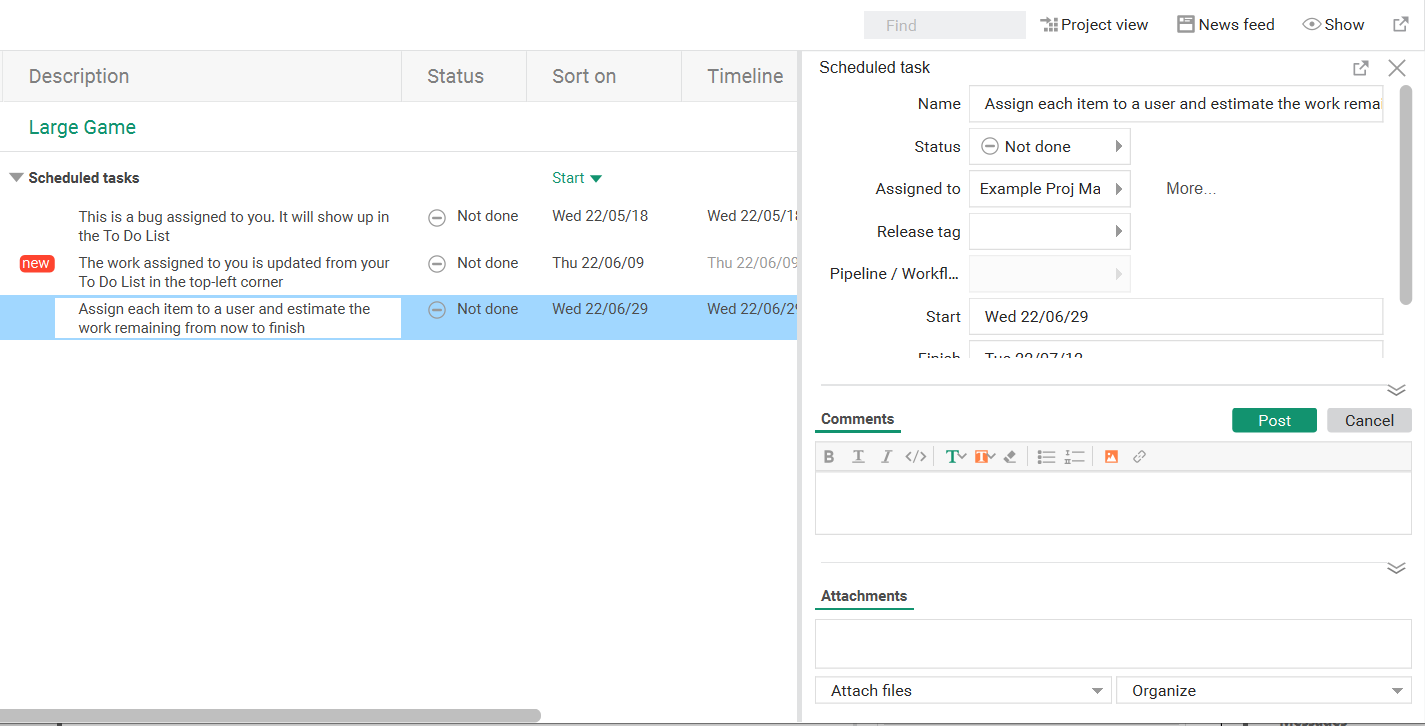
2. Use the provided fields to make the required changes.
When you make changes in this window, they will be saved immediately. Once you have finished editing the item, simply close the Details window.
3. To open the Details window as a pop-up, click the Open in separate window icon in the top-right corner.
4. To see the item in its context, click the  Project View icon and select the relevant view, such as Planning, Board View, or Quality Assurance.
This will open the selected view, with the item highlighted.
1. Click the current header in the Sort on column.
2. Use the drop-down menu to select the desired sorting mode.
Columns added to the Planning section will also appear as sorting options.
3. Select whether the items should be sorted in Ascending or Descending order.
Configuring columns in the To Do List
1. You can move columns in the To Do List by clicking the header and dragging it to the position you want.
2. To add custom columns, right-click the header and find the Custom columns (max 6) option. Hover over Show column to see a list of available custom columns. Select one you want to add, and it will appear in the To Do List.
3. All columns in the To Do List - except Description - can be hidden. To toggle whether or not a column is visible, right-click the header and select the column from the menu.